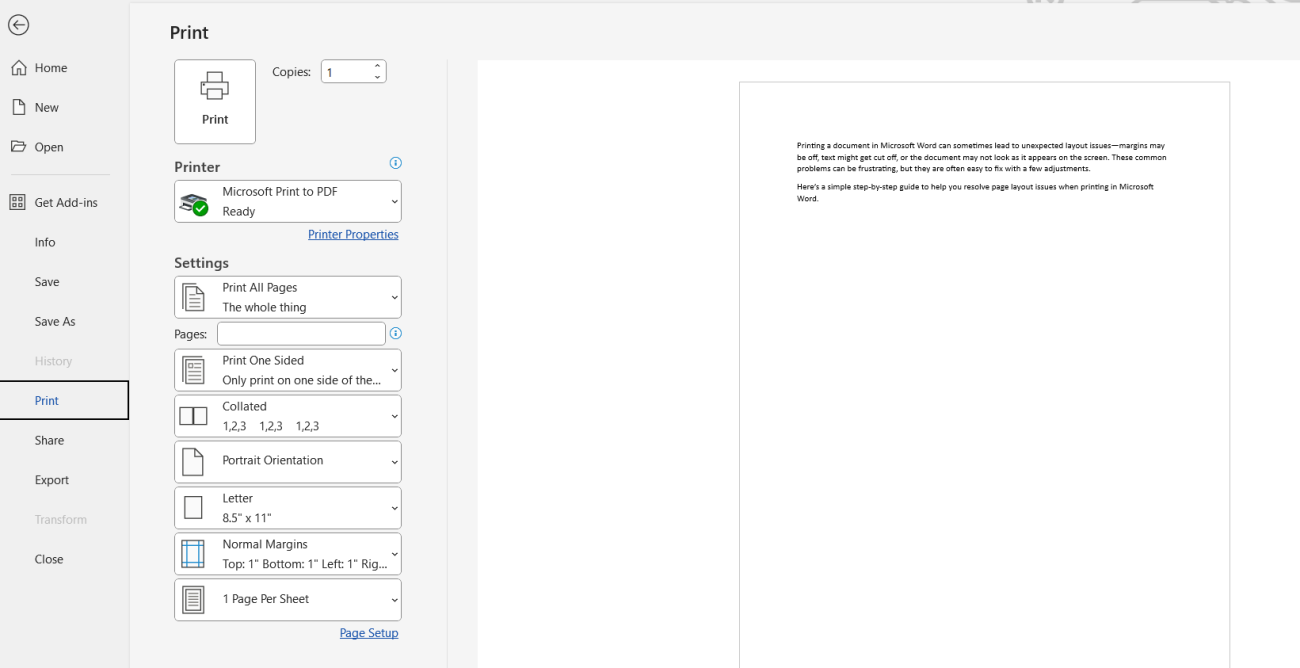
How do I Fix Page Layout issues when Printing in Word?
Printing a document in Microsoft Word can sometimes lead to unexpected layout issues—margins may be off, text might get cut off, or the document may not look as it appears on the screen. These common problems can be frustrating, but they are often easy to fix with a few adjustments.
Here’s a simple step-by-step guide to help you resolve page layout issues when printing in Microsoft Word.
Step 1: Check Page Setup
- Go to the Layout tab and verify the Margins and Size settings. Ensure the margins are correct, and the paper size (e.g., A4 or Letter) matches what you’re printing on.
Step 2: Use Print Preview
- Before printing, go to File > Print and look at the Print Preview. This allows you to see how your document will appear on paper. If anything looks off, you can adjust it before wasting paper.

Step 3: Adjust Margins or Content
- If text gets cut off or extends beyond the margins, return to the Layout tab and either reduce the margins or scale down the content by adjusting font size or spacing.
Step 4: Fix Scaling Issues
- In the Print menu, check the Scaling options (under printer settings). Choose Fit to Page or Scale to Paper Size to ensure the content fits properly on the selected paper size.
Step 5: Print a Test Page
- Instead of printing the entire document, print a test page first to make sure everything is correctly formatted. Go to File > Print, and select a single page under Custom Print.
Unlock unbeatable productivity with our Office Keys, available at the lowest prices guaranteed!
