How do I Set Up Assigned Access in Windows 11 Pro?
Setting up Assigned Access in Windows 11 Pro allows you to restrict a specific user account to a single app, ideal for public-use devices or kiosks. This feature ensures that users can only access designated apps, creating a controlled environment for productivity or security. Here’s a step-by-step guide to setting up Assigned Access on Windows 11 Pro.
Step 1: Set Up a Standard User Account
First, create a standard user account that will be limited to one app. To do this:
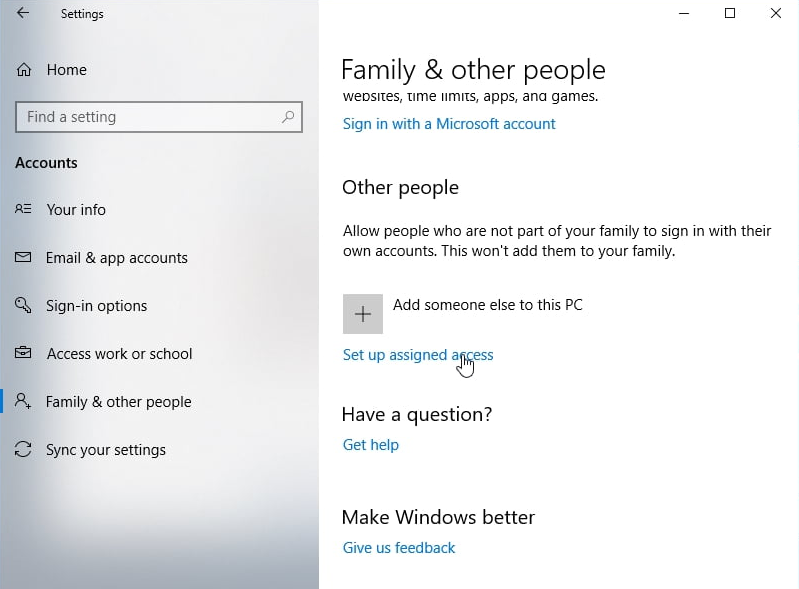
- Open Settings > Accounts > Family & other users.
- Under Other users, click Add account and follow the prompts to create a local or Microsoft account.
- Make sure the account is set up as a Standard user and not an Administrator.
Step 2: Access Assigned Access Settings
Now that your user account is ready, you can configure Assigned Access:
- Go to Settings > Accounts > Family & other users.
- Scroll to the bottom to find Kiosk settings, and select Assigned access to start the setup.

Step 3: Select the Account for Assigned Access
- Click on Get started under the Kiosk setup.
- Choose the user account you want to limit to a single app, then click Next.
Step 4: Choose the App to Assign
- From the list of installed apps, select the app that the user will access.
- Choose the app carefully—this will be the only app accessible to that user when they log in.
- Click Next to confirm.
Step 5: Configure App Settings (if available)
Some apps may have specific settings for kiosk mode, allowing you to configure them for better control. Review any available options within the app to ensure it functions as desired.
Step 6: Test Assigned Access
To check that Assigned Access works:
- Sign out of the Administrator account.
- Log in to the restricted user account. The system should launch directly into the assigned app, with all other features locked.
Step 7: Managing and Exiting Assigned Access Mode
To exit Assigned Access:
- Sign in as an Administrator.
- Navigate back to Settings > Accounts > Family & other users > Assigned access.
- Select Remove kiosk to disable Assigned Access for that user.
Get the best deal on a genuine Windows 11 Pro Key – unlock powerful features at the lowest price today!


