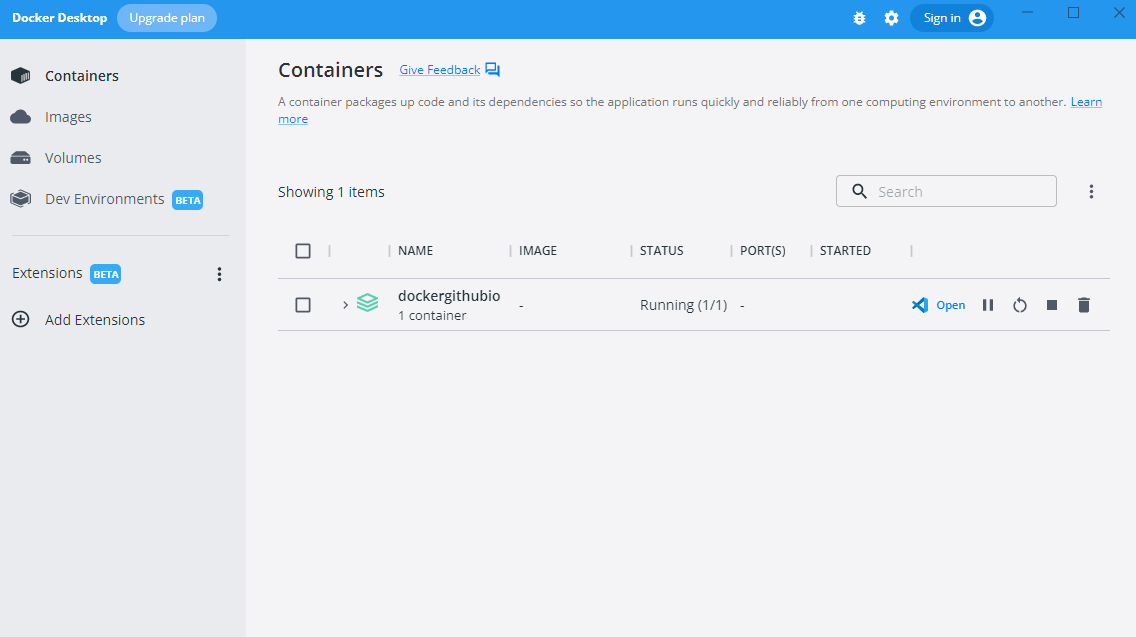
Docker has revolutionized the world of software development by making it easier to deploy applications in a consistent environment. Whether you’re a developer, system administrator, or a tech enthusiast, you might be wondering if Windows 11 Pro can run Docker containers. The answer is a resounding yes! Let’s dive into the details of what Docker is, how it works, and how you can set it up on Windows 11 Pro.
What is Docker?
Docker is a platform as a service (PaaS) product that uses OS-level virtualization to deliver software in packages called containers. Containers are lightweight and include everything needed to run a piece of software, including the code, runtime, libraries, and system tools. This ensures that the software will always run the same, regardless of the environment.
Why Use Docker?
Containers offer several advantages over traditional virtual machines:
- Efficiency: Containers share the host system’s kernel, making them more lightweight and faster to start up.
- Portability: Docker containers can run on any system that supports Docker, whether it’s a developer’s laptop, a testing server, or a production environment.
- Consistency: Ensures that applications run the same way across different environments.
- Scalability: Easily scale applications across multiple containers.
Can Windows 11 Pro Run Docker?
Yes, Windows 11 Pro can run Docker containers, and it’s quite straightforward to set up. Here are the steps to get Docker running on your Windows 11 Pro system.
System Requirements
Before you start, make sure your system meets the following requirements:
- Windows 11 Pro: Docker Desktop for Windows requires either Windows 10 Pro, Enterprise, or Education versions. The same requirement applies for Windows 11.
- Hyper-V and Containers Windows Features: These are necessary for Docker Desktop to operate correctly.
Installing Docker on Windows 11 Pro
Follow these steps to install Docker Desktop on your Windows 11 Pro machine:
Step 1: Enable Hyper-V and Containers Features
- Press
Win + Sto open the search bar and typeTurn Windows features on or off. - Click to open the Windows Features dialog.
- Check the boxes for
Hyper-V,Virtual Machine Platform, andWindows Hypervisor Platform. - Click
OKand restart your computer.
Step 2: Download and Install Docker Desktop
- Go to the Docker Desktop for Windows download page.
- Download the Docker Desktop installer.
- Run the installer and follow the on-screen instructions.
- After installation, Docker Desktop will require you to sign in with a Docker Hub account. If you don’t have one, you can create it for free.
Step 3: Configure Docker Desktop
- Once Docker Desktop is installed, open it.
- Navigate to
Settingswithin Docker Desktop. - Make sure the
Enable the experimental featurescheckbox is unchecked, as it is typically not needed for most users.

Step 4: Running Your First Container
To verify that Docker is correctly installed, you can run a simple test container:
- Open
PowerShellor theCommand Prompt. - Type the following command:
docker run hello-world - If everything is set up correctly, you should see a message indicating that Docker is working as expected and the “Hello from Docker!” message.
Using Docker with WSL 2
For an even more efficient development environment, Docker Desktop allows you to integrate with the Windows Subsystem for Linux (WSL 2):
- Ensure WSL 2 is enabled on your machine. Follow the official Microsoft guide to set it up.
- In Docker Desktop, go to
Settings>Generaland check theUse the WSL 2 based engineoption. - Restart Docker Desktop and enjoy a seamless integration between Docker and WSL 2.
Unlock the full potential of your PC with a Genuine Windows 11 Pro Key, offering advanced security features, enhanced productivity tools, and seamless integration for both personal and professional use.


