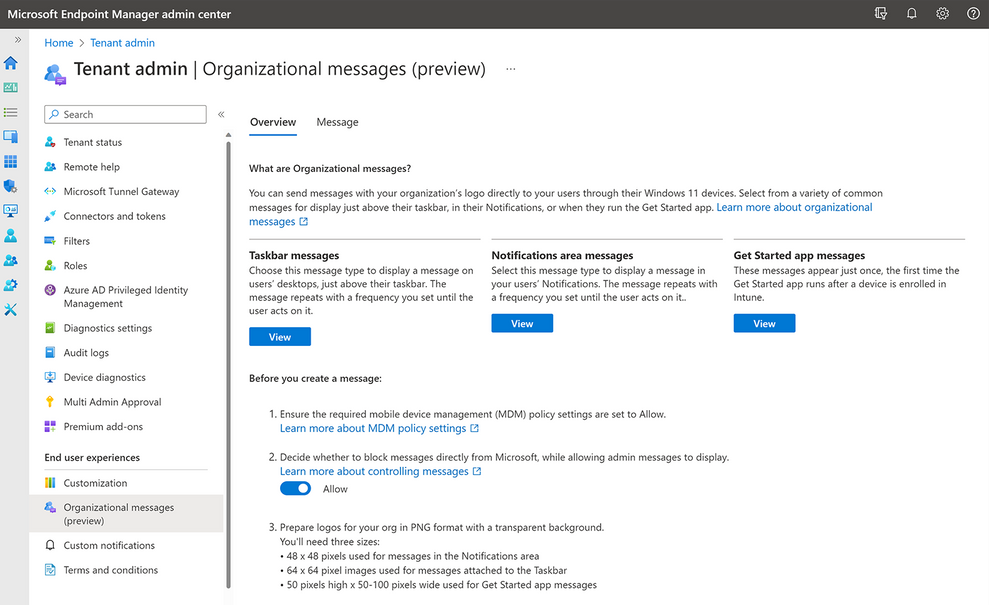
With the evolution of technology, managing devices within an organization has become increasingly complex. Enter Microsoft Intune, a cloud-based service designed for mobile device management (MDM) and mobile application management (MAM). If you’re using Windows 11 Pro, you might be wondering if Microsoft Intune is compatible with it. The short answer is yes! Microsoft Intune works seamlessly with Windows 11 Pro, and here’s everything you need to know to get started.
What is Microsoft Intune?
Microsoft Intune is part of the Microsoft Endpoint Manager suite, which provides centralized management of both corporate and BYOD (Bring Your Own Device) devices. It allows IT administrators to:
- Manage mobile devices and PCs from a single, unified console.
- Secure apps and data on both personal and corporate-owned devices.
- Ensure devices comply with your company’s security policies.
- Deploy software and updates efficiently.
Why Use Intune with Windows 11 Pro?
Using Microsoft Intune with Windows 11 Pro offers several benefits:
- Centralized Management: Manage multiple devices and operating systems from one platform.
- Enhanced Security: Apply policies and encrypt devices to protect sensitive data.
- Compliance: Ensure devices meet your organizational compliance requirements.
- Deployment Flexibility: Configure policies and deploy applications remotely.
A Step-by-Step Guide
Step 1: Verify Your Windows 11 Pro Version
Ensure your device is running Windows 11 Pro:
- Press
Win + Ito open the Settings app. - Navigate to
System>About. - Check the ‘Edition’ field under
Windows Specificationsto verify it says “Windows 11 Pro”.
Step 2: Obtain a Microsoft Intune License
To use Intune, you need a valid license.
Step 3: Configuring Microsoft Intune
Once you have a subscription, set up Intune:
- Visit the Microsoft Endpoint Manager admin center.
- Sign in using your admin account.
- Navigate to
Devices>Windows>Windows Enrollment.

Step 4: Enroll Your Windows 11 Pro Device
To manage your Windows 11 Pro device with Intune, enroll it:
- Open the Windows Settings app (
Win + I). - Go to
Accounts>Access work or school. - Click
Connect. - Select
Join this device to Azure Active Directory. - Enter your work or school email and follow the prompts to complete the enrollment.
Step 5: Configuring Device Policies
After enrolling your device, set up policies:
- In the admin center, go to
Devices>Configuration Profiles. - Click
Create profile. - Select the platform as
Windows 10 and later. - Choose a profile type, like Device restrictions.
- Configure the settings and click
Create. - Assign the profile to relevant devices or user groups.
Step 6: Deploy Applications
Deploy applications to your Windows 11 Pro device:
- Go to
Appsin the admin center. - Click
Add. - Choose the app type (e.g., Windows app (Win32), Microsoft Store app).
- Configure app settings and click
Next. - Assign the app to user groups or devices.
Step 7: Monitoring and Management
With devices enrolled and policies in place, monitor and manage them:
- Navigate to
Devicesin the admin center. - Select
Windowsto view Windows devices. - Click on any device to see detailed info like compliance, properties, and logs.
- Use actions like wipe, reset, or restart to manage devices.
Unlock the full potential of your PC with a Genuine Windows 11 Pro Key, offering advanced security features, enhanced productivity tools, and seamless integration for both personal and professional use.

