
How to Use Word for Grant Writing?
Writing a successful grant proposal is essential for securing funding for research, projects, or community initiatives. Microsoft Word is one of the most commonly used tools for creating and organizing grant applications. With its versatile features, Word helps streamline the grant writing process, ensuring clarity, professionalism, and effectiveness. Here’s how to use Word for grant writing effectively.
1. Organize Your Content with Sections
Grant proposals typically require multiple sections such as an executive summary, project description, budget, and supporting documentation. Using Word’s section breaks and headers ensures that your proposal is well-structured and easy to navigate.
Steps:
- Use Section Breaks: Navigate to the ‘Page Layout’ tab, and insert section breaks to divide your proposal into logical sections.
- Headers and Subheaders: Apply headings (e.g., Heading 1, Heading 2) to organize content and improve accessibility.
2. Create a Professional Layout
A polished layout enhances the readability of your proposal. Use consistent fonts, spacing, and margins to maintain a professional appearance.
Steps:
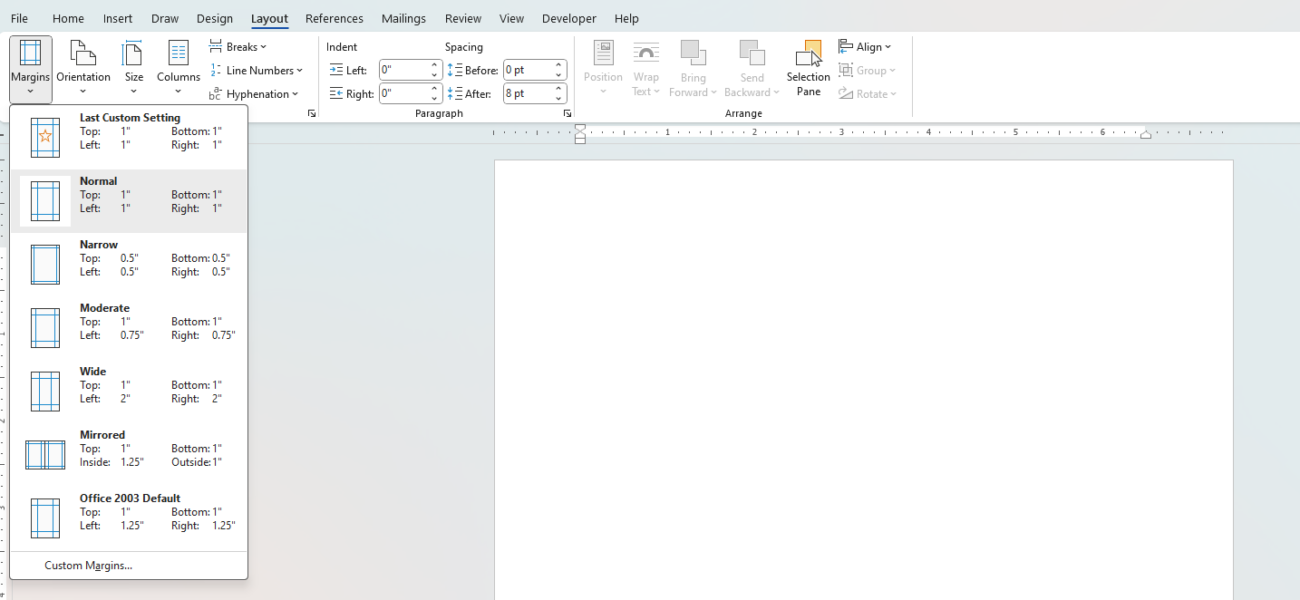
- Set Margins: Go to ‘Page Layout’ > ‘Margins’ to adjust margins according to grant requirements.
- Font and Spacing: Use easy-to-read fonts like Arial or Times New Roman, and maintain consistent line spacing (usually 1.5 or double).
3. Incorporate Tables and Charts
Grant proposals often include data such as budgets, timelines, or research outcomes. Using tables and charts in Word allows for clear representation of this information.
Steps:
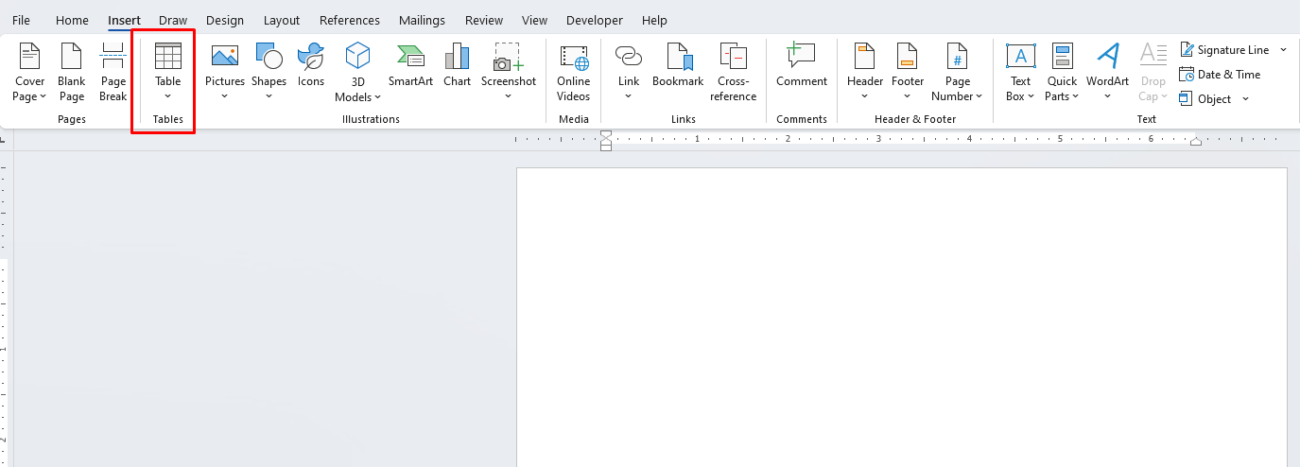
- Insert Tables: Navigate to ‘Insert’ > ‘Table’ to create tables for budgets, milestones, or other numerical data.
- Insert Charts: Use ‘Insert’ > ‘Chart’ to visualize data like financial forecasts or progress tracking.
4. Use Track Changes for Collaboration
Grant writing often involves input from multiple stakeholders, such as team members or mentors. Track Changes in Word allows you to review edits, make suggestions, and collaborate seamlessly.
Steps:
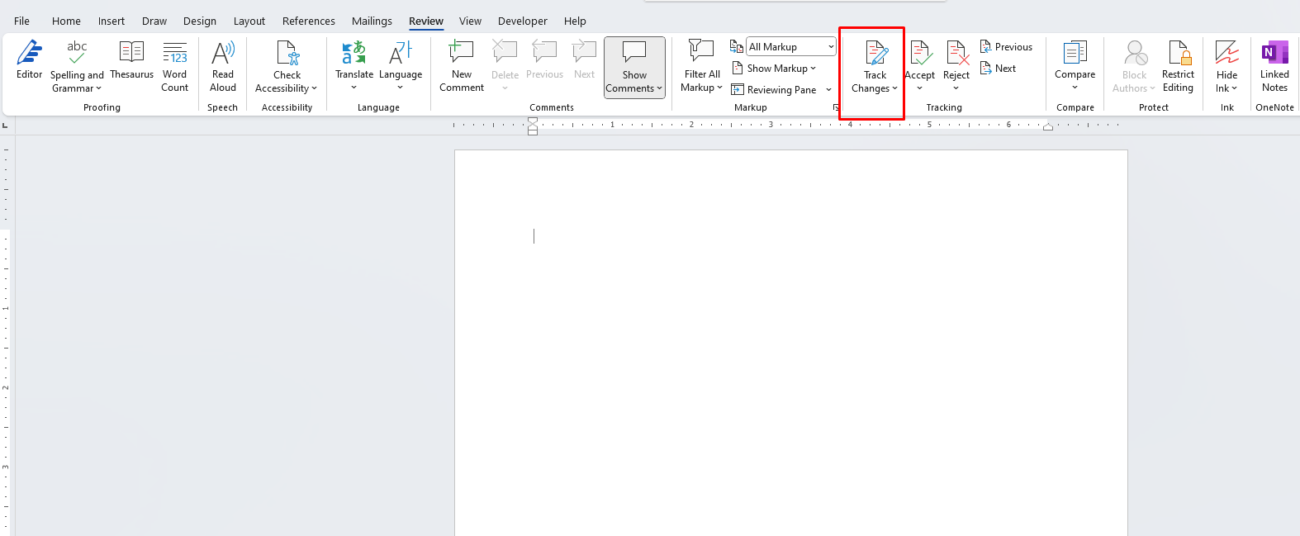
- Enable Track Changes: Go to ‘Review’ > ‘Track Changes’ to monitor edits and suggestions from collaborators.
5. Reference and Cite Sources
Accurate citation and referencing are crucial in grant writing. Word has built-in tools for managing references, which help you create a bibliography or citation list effortlessly.
Steps:
- Manage Citations: Use the ‘References’ tab to add citations and bibliographies.
- Insert Citations: Utilize tools like EndNote or Mendeley to import references directly into your document.
6. Add Images and Visual Content
Images, graphs, or infographics can support your grant application by visually representing complex concepts or providing evidence of previous work.
Steps:
- Insert Images: Navigate to ‘Insert’ > ‘Pictures’ to add images or visual content.
- Adjust Images: Use Word’s image formatting tools to adjust size, alignment, and positioning.
7. Proofread and Edit
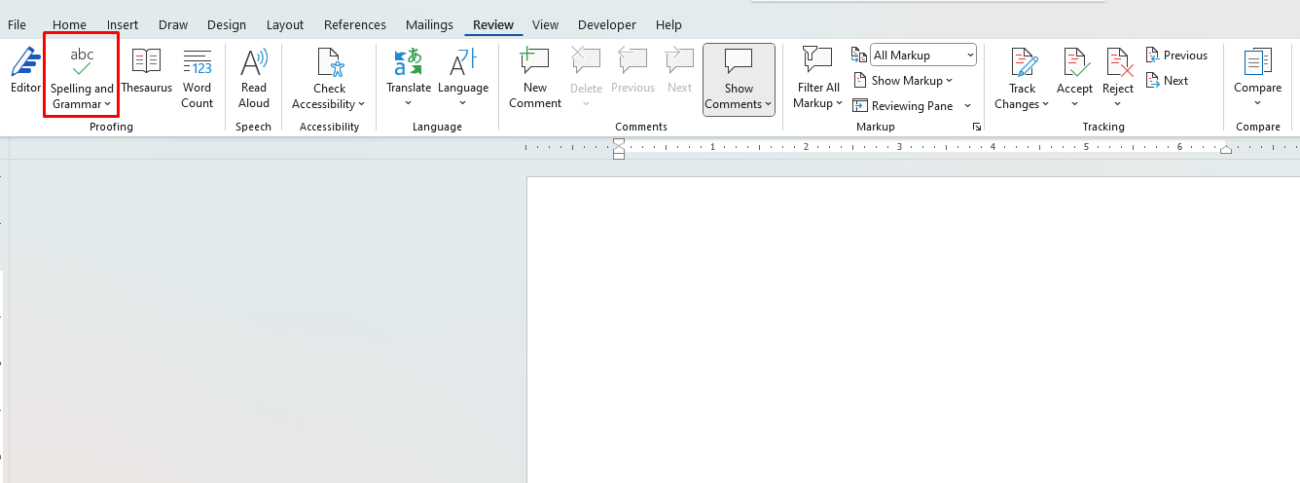
A polished final draft is crucial for grant success. Use Word’s editing features, like spelling and grammar checks, to refine your proposal.
Steps:
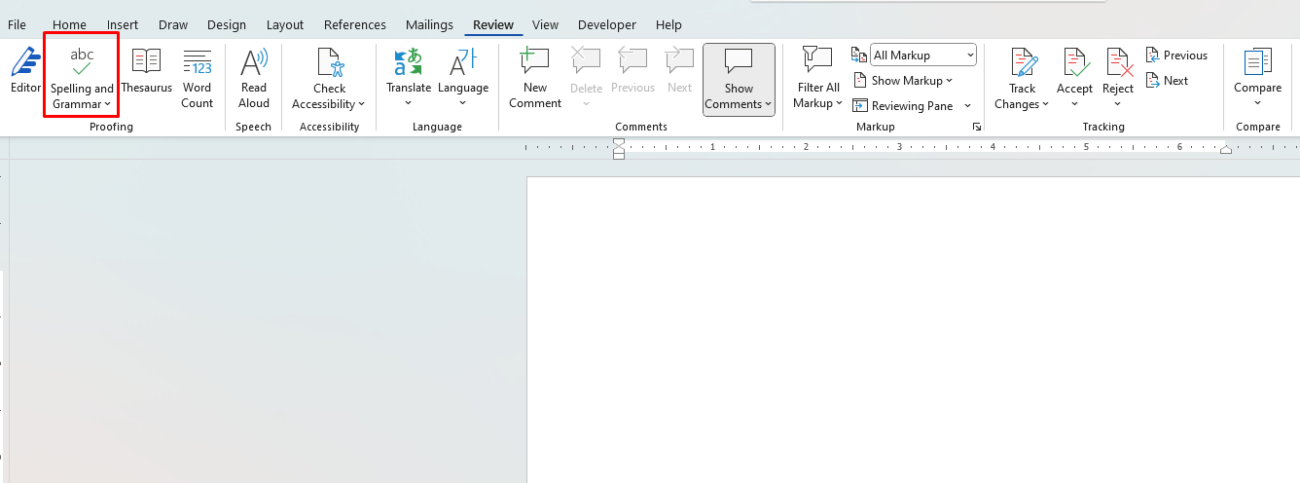
- Run Spelling and Grammar Check: Navigate to ‘Review’ > ‘Spelling & Grammar’ to ensure your proposal is error-free.
- Edit Content: Regularly review and refine sections for clarity and impact.
Save big on Office keys and access all your favorite productivity tools at an affordable price!

