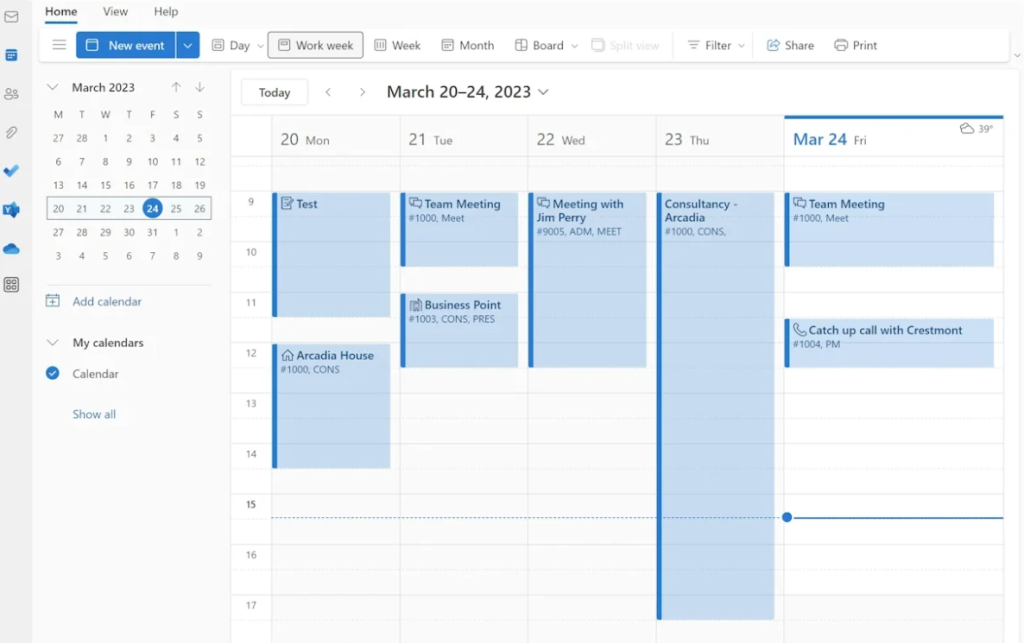
Scheduling meetings efficiently is a crucial aspect of daily business operations. Outlook, a widely used email and calendar application, offers powerful features to help you seamlessly organize and coordinate your meetings. In this guide, we will walk you through the step-by-step process on how to schedule a meeting in Outlook, enabling you to effortlessly plan and manage your professional engagements.
With Outlook’s intuitive interface and robust functionality, you can create, invite attendees, and set up meetings with just a few clicks. Whether you need to schedule a one-on-one discussion or a group meeting involving multiple participants, Outlook provides a comprehensive platform to streamline the entire process. By leveraging Outlook’s integrated calendar and email capabilities, you’ll be able to avoid scheduling conflicts, send out invitations, receive responses, and effectively communicate all the necessary details to ensure a successful and productive meeting. Get ready to enhance your productivity and take control of your schedule as we guide you through the process of scheduling a meeting in Outlook.
Step 1: Open Outlook and Navigate to the Calendar:
- Launch Microsoft Outlook.
- Click on the “Calendar” option in the bottom-left corner of the screen. (Alternatively, you can press Ctrl+2 to directly access the Calendar.)

Step 2: Click on the “New Meeting” Button:
- On the toolbar at the top of the screen, click on the “New Meeting” button.
- This will open a new meeting window where you can fill in the details for the meeting.
Step 3: Add Meeting Details:
- In the meeting window, enter the meeting subject in the “Subject” field.
- Specify the start and end times for the meeting in the “Start time” and “End time” fields respectively.
- Use the drop-down menus to set the correct time zone.
Step 4: Add Attendees:
- In the meeting window, click on the “To” button. This will open the address book.
- Select the desired attendees from the address book by double-clicking on their names.
- Click “OK” to add them to the meeting.
Step 5: Set Meeting Location:
- In the meeting window, enter the meeting location in the “Location” field. You can either manually type the address or use the “Rooms” button to select a meeting room from the available options.
Step 6: Provide Meeting Details:
- In the main body of the meeting window, provide any additional details or agenda items for the meeting.
Step 7: Add Attachments or Files (if necessary):
- To attach files or documents related to the meeting, use the “Attach File” button in the toolbar at the top.
- Browse your computer for the relevant files and click “Insert” to attach them to the meeting.
Step 8: Set Meeting Reminders and Notifications:
- Click on the “Reminder” button in the toolbar at the top to set a reminder for the meeting.
- Select the desired time before the meeting when you want to be reminded.
Step 9: Send the Meeting Invitation:
- Once you have filled in all the necessary details, click on the “Send” button in the toolbar at the top.
- Outlook will send the meeting invitation to all the selected attendees.
Conclusion:
By following these step-by-step instructions, you can effortlessly schedule a meeting in Outlook. The user-friendly interface and powerful features of Outlook make it an excellent tool for managing all your meeting scheduling needs.
Note: The specific commands and options may vary slightly depending on your version of Microsoft Outlook.
Get Microsoft Office from our website. Enjoy affordable prices and enhance your productivity with the leading suite today.


