Advanced Document Editing Techniques in Word
Microsoft Word is one of the most powerful tools for creating, editing, and formatting documents. While basic functionalities like typing, formatting text, and inserting images are widely known, Word offers a variety of advanced features that can significantly streamline your document editing process. Whether you’re working on a professional report, academic paper, or creative writing project, mastering these advanced document editing techniques can elevate your document to a higher level of professionalism and efficiency. Here’s a closer look at some of these techniques:
1. Use of Styles and Templates
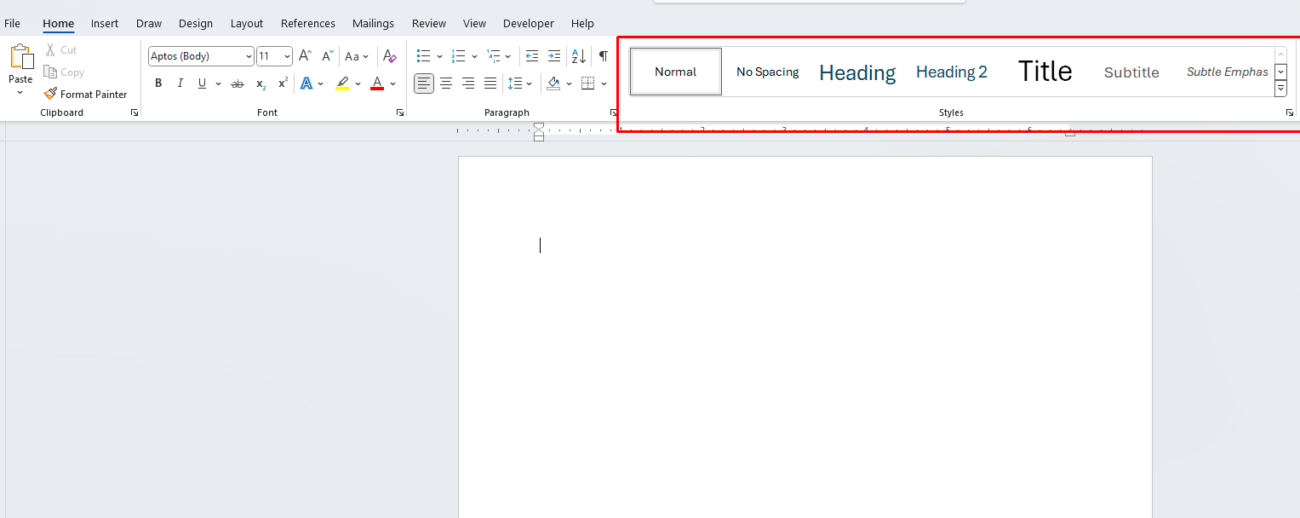
Styles and templates are essential for maintaining consistency in your document. By applying predefined styles (such as heading styles, body text, or captions), you ensure that your document maintains a uniform appearance throughout. This is especially useful when dealing with long documents or collaborative projects. Templates can save time by setting up document elements like headers, footers, margins, and even specific styles beforehand.
Steps:
- Create Styles: Navigate to the ‘Styles’ pane in Word and select predefined styles or create custom ones to meet your specific formatting needs.
- Apply Templates: Use built-in or custom templates to quickly format documents with predetermined layouts and designs.

2. Track Changes and Comments
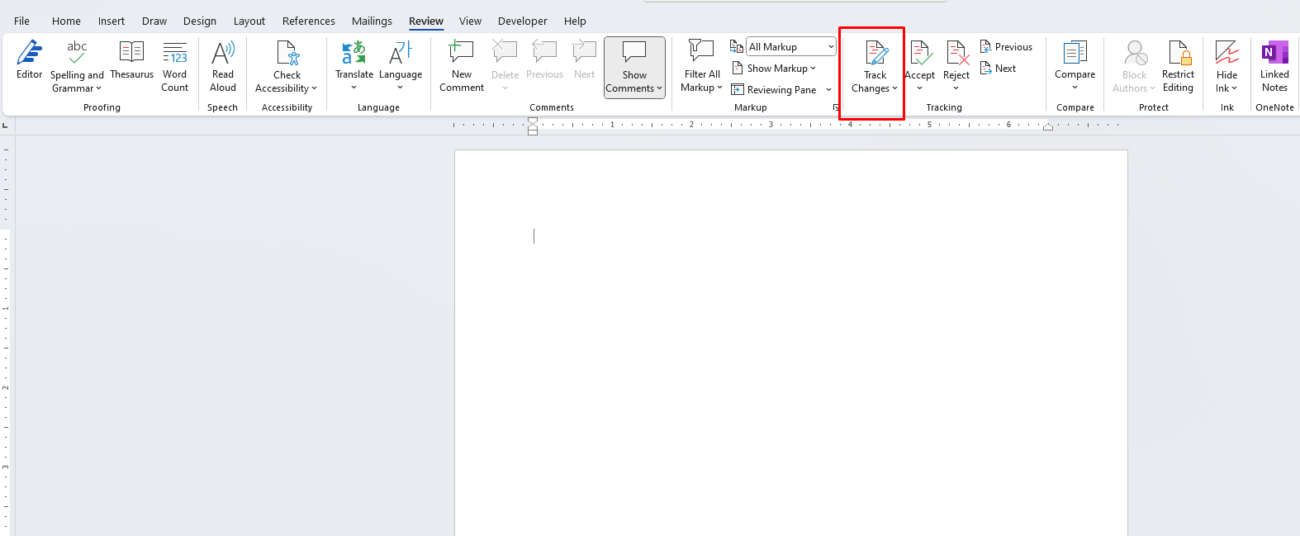
Collaborating on a document is easy with Word’s Track Changes feature. You can review edits, suggest revisions, and leave comments for others to review. This is particularly useful for peer reviews, editing, and team projects.
Steps:
- Enable Track Changes: Click on the ‘Review’ tab and select ‘Track Changes’.
- Leave Comments: Highlight text, right-click, and choose ‘New Comment’ to add feedback.

3. Mastering Tables and Charts
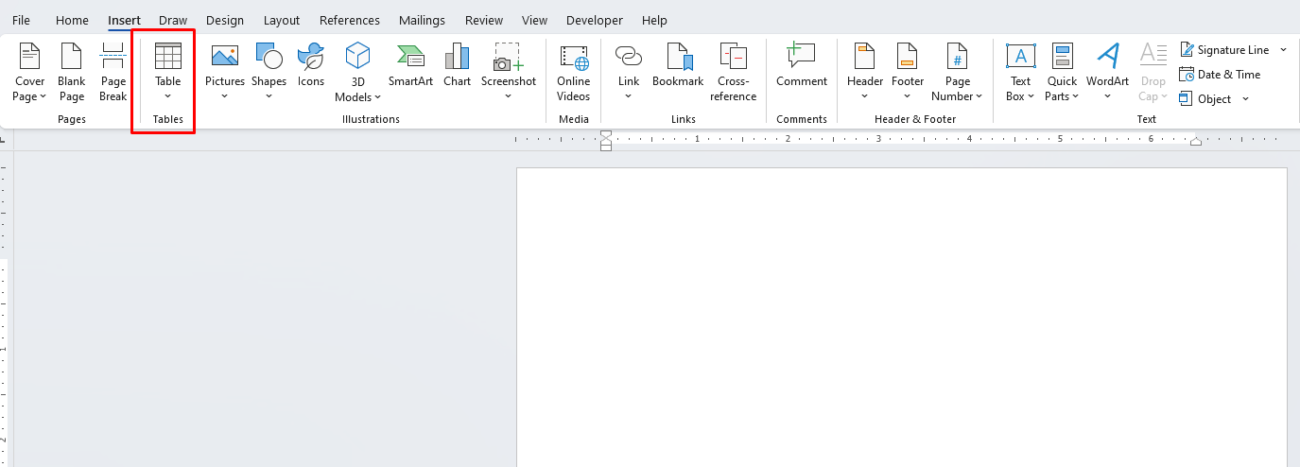
Word allows for detailed data organization with tables and the integration of charts. For visualizing data, such as sales figures or survey results, inserting charts and tables can significantly improve readability and comprehension.
Steps:
- Insert Tables: Use the ‘Insert’ tab and select ‘Table’ to create structured data grids.
- Insert Charts: Navigate to the ‘Insert’ tab and select ‘Chart’ to visualize numerical data with bar, line, pie, or other chart types.

4. Using Section Breaks for Flexible Layouts
Section breaks enable complex document layouts, such as different headers and footers on various pages, or distinct formatting for different sections. This is especially useful for multi-part documents like research papers or books.
Steps:
- Insert Section Breaks: Go to the ‘Page Layout’ tab and select ‘Breaks’ to add section breaks.
5. Advanced Formatting with Styles and Quick Parts
Quick Parts allow you to save frequently used pieces of text (like legal clauses or repetitive headers) and quickly insert them into different sections of a document. Similarly, advanced formatting features like indentation, spacing, and font styles provide additional flexibility for layout customization.
Steps:
- Quick Parts: Click on the ‘Insert’ tab and choose ‘Quick Parts’ to save and reuse content.
- Advanced Formatting: Use the ‘Home’ tab to adjust spacing, line height, and other formatting options.
6. Automation with Macros
For repetitive tasks such as formatting complex tables or applying the same sequence of edits across multiple documents, macros automate these steps. This is a powerful tool for productivity enhancement.
Steps:
- Create Macros: Navigate to the ‘View’ tab and select ‘Macros’ to automate actions by recording a sequence of steps.
Save big on Office keys and access all your favorite productivity tools at an affordable price!

