
How to Create Stunning Reports with Microsoft Word?
Microsoft Word is a versatile and powerful tool that allows you to create professional and visually appealing reports. Whether you’re preparing business documents, academic papers, or project summaries, mastering a few key techniques can help you make your reports stand out. In this guide, we’ll walk you through the steps to create stunning reports in Microsoft Word.
1. Plan Your Report Structure
Before diving into Word, outline the structure of your report. A well-organized report typically includes:
- Title Page: Includes the title, subtitle, author’s name, and date.
- Table of Contents: Lists all sections with page numbers.
- Introduction: Provides an overview of the report’s purpose and scope.
- Main Content: Includes sections and subsections for the detailed information.
- Conclusion: Summarizes the key points and recommendations.
- Appendices: Contains supplementary materials like charts, tables, or references.
2. Use Pre-Designed Templates
Microsoft Word offers a variety of pre-designed templates that can save you time and effort. To access templates:
- Open Word and click on File > New.
- Browse through the available templates or search for “Report.”
- Choose a template that fits your style and purpose, and customize it as needed.
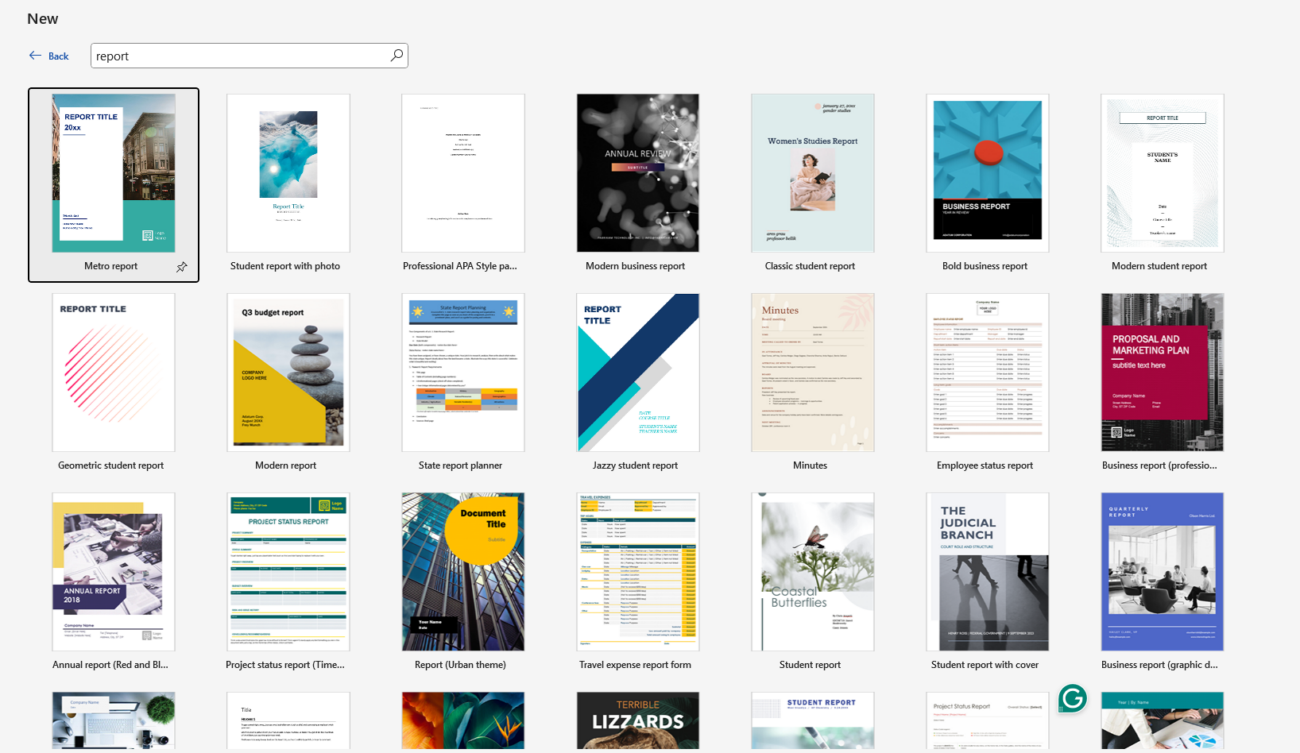
Templates come with consistent formatting, making your report look professional with minimal effort.
3. Leverage Styles for Consistency
Using styles ensures consistency across your report. To apply or customize styles:
- Highlight the text you want to format (e.g., headings or body text).
- Go to the Home tab and choose a style from the Styles gallery.
- Modify a style by right-clicking on it and selecting Modify.
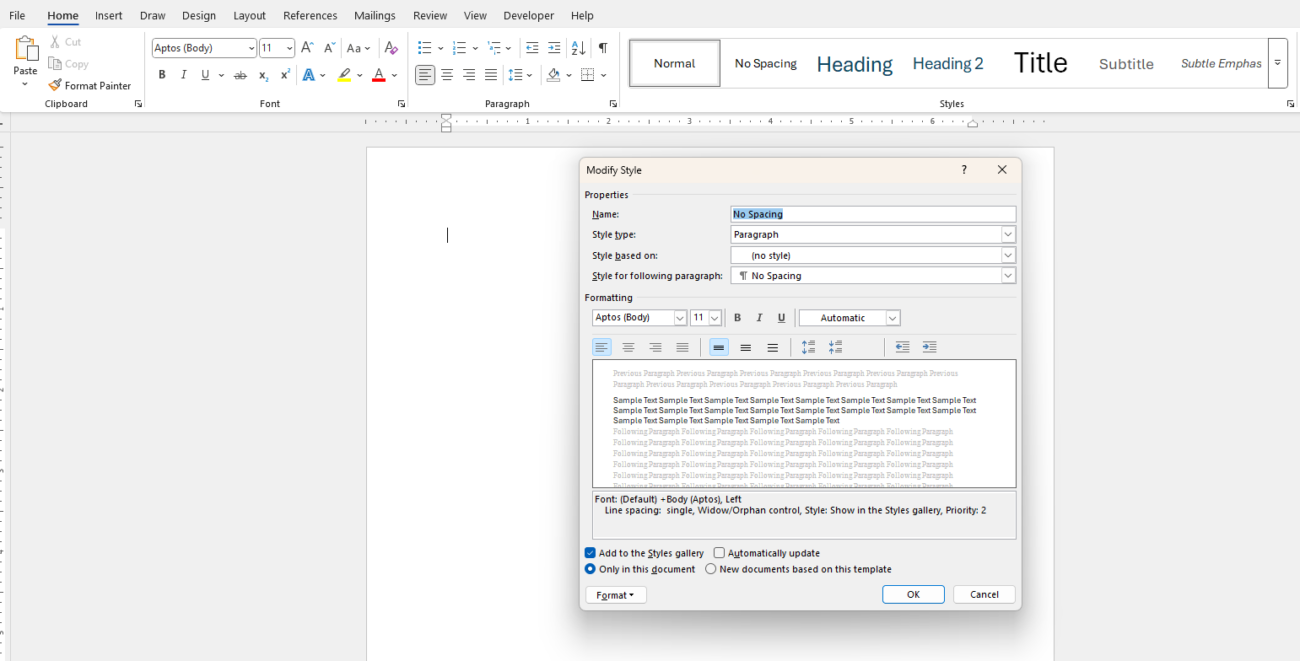
Styles help maintain uniform formatting for headings, subheadings, and paragraphs, making your report easy to read and visually cohesive.
4. Add a Professional Cover Page
A cover page is the first impression of your report. Microsoft Word provides built-in cover page designs:
- Go to the Insert tab and click on Cover Page.
- Select a design and fill in the required details, such as the title and author’s name.
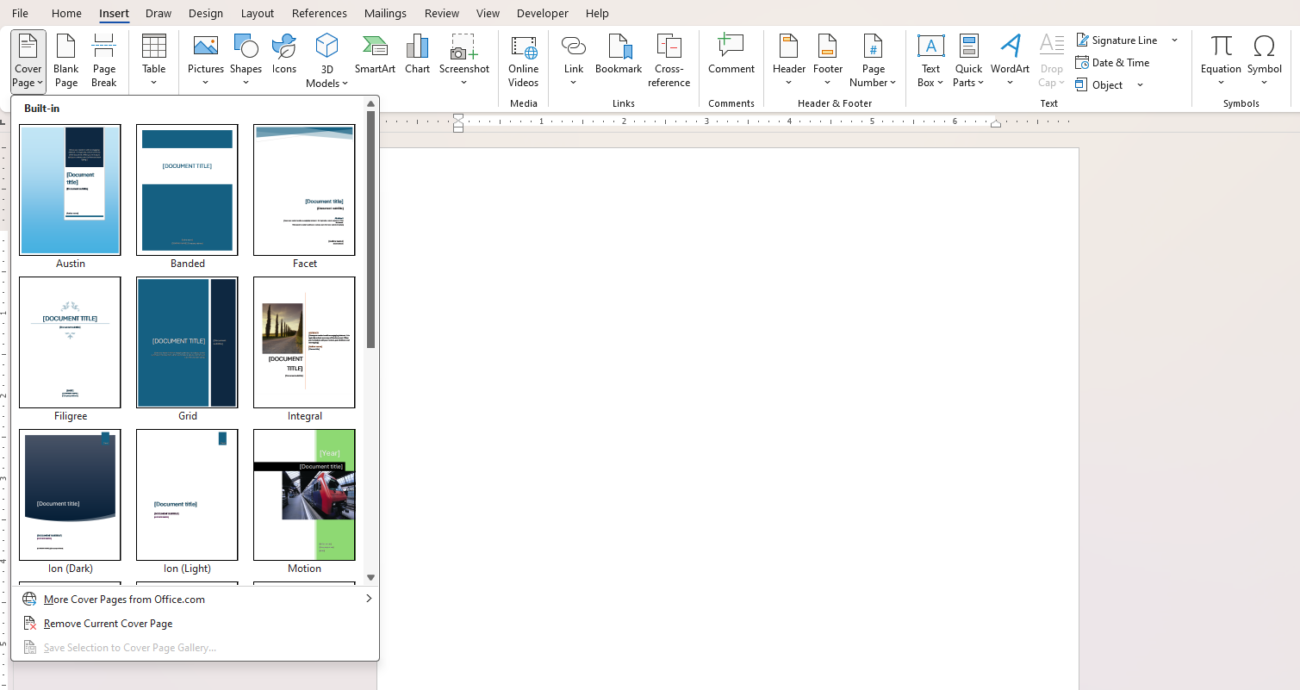
A well-designed cover page adds a polished and professional look to your report.
5. Incorporate Visual Elements
Visual elements can make your report more engaging and easier to understand. Consider adding:
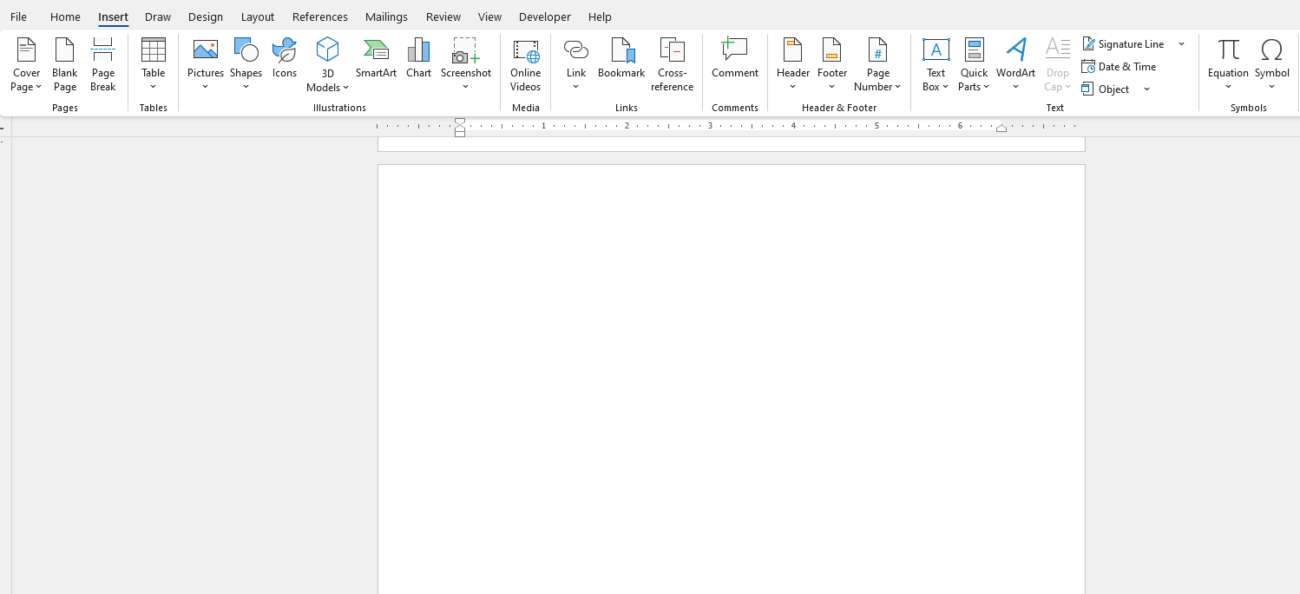
- Charts and Graphs: Use the Insert tab to create or import charts and graphs to present data visually.
- Tables: Use Insert > Table to organize information in a structured format.
- Images and Icons: Add relevant images or icons to support your content. Use Insert > Pictures or Icons for high-quality visuals.
6. Create a Table of Contents
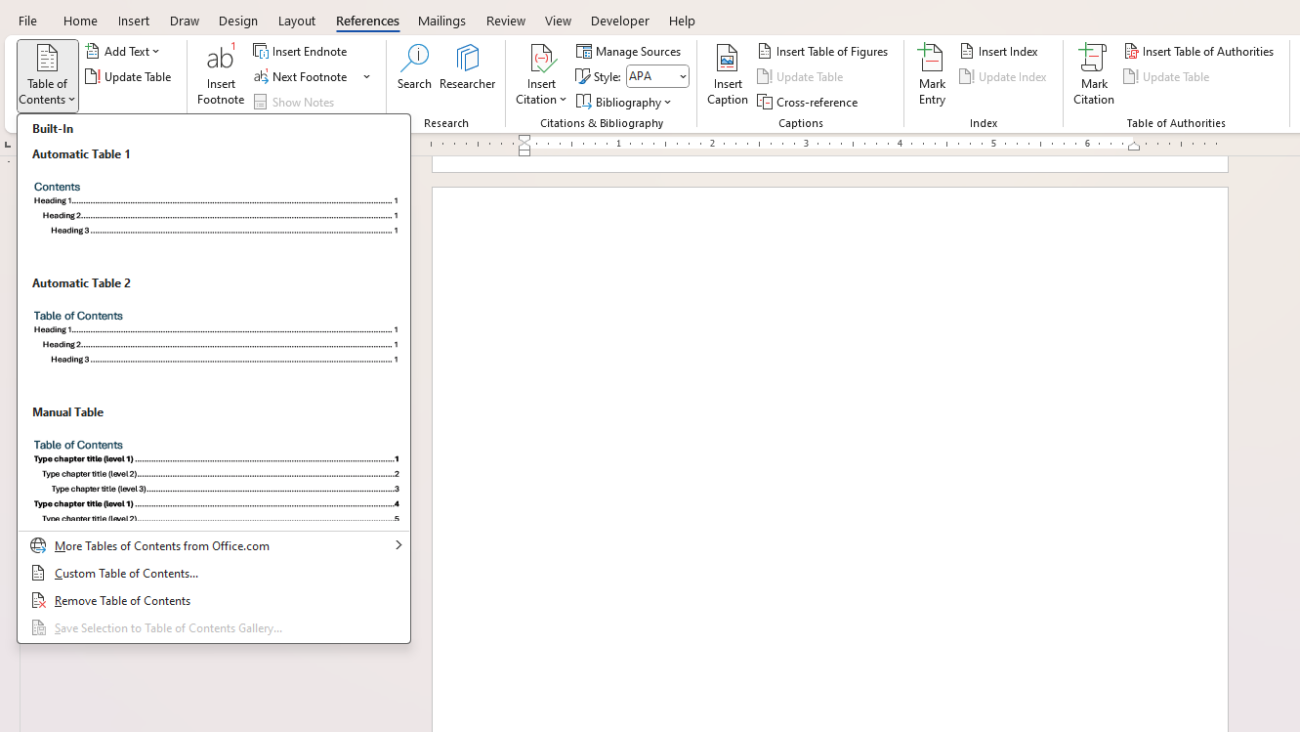
A table of contents (TOC) helps readers navigate your report. To generate one:
- Use heading styles (e.g., Heading 1, Heading 2) for section titles.
- Place the cursor where you want the TOC.
- Go to the References tab and click on Table of Contents.
- Select a style, and Word will automatically create a TOC based on your headings.
7. Use Page Layout Features
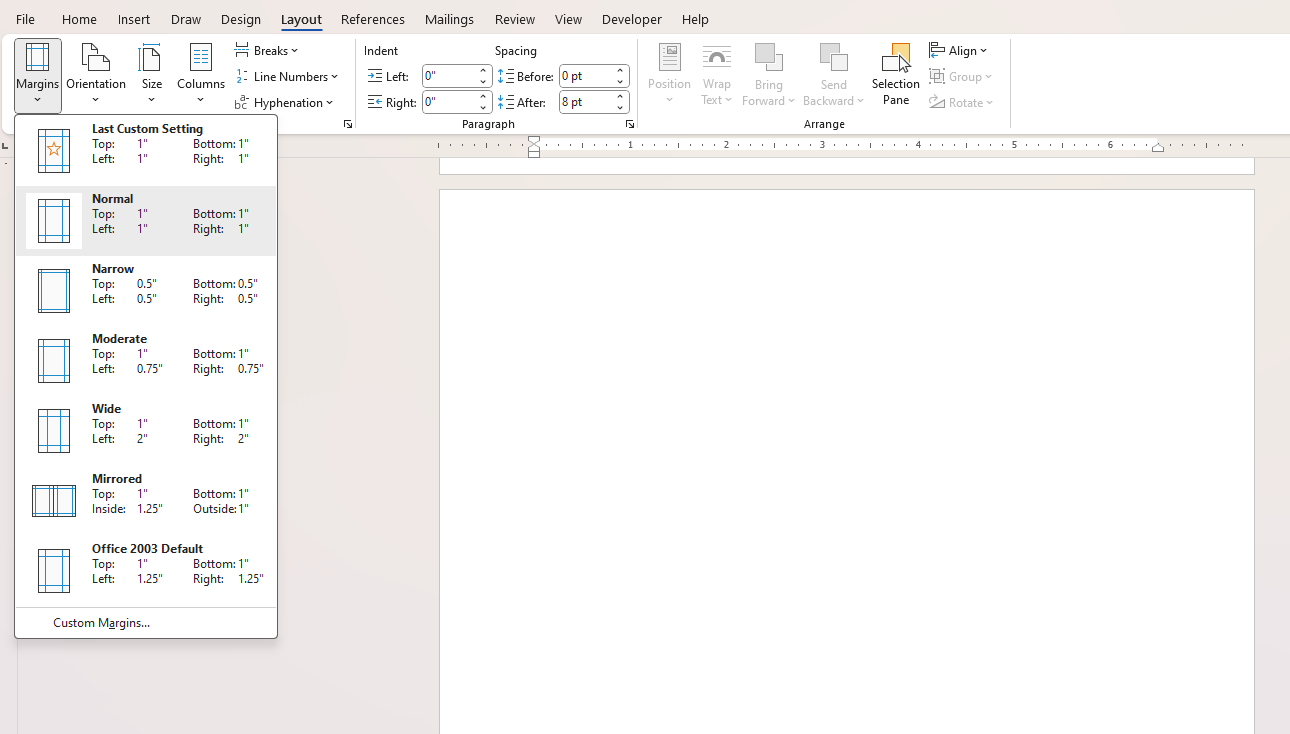
Proper page layout enhances readability. Adjust these settings for a professional look:
- Margins: Go to Layout > Margins and select a predefined option or set custom margins.
- Page Orientation: Choose between portrait and landscape in Layout > Orientation.
- Line Spacing: Use Home > Line and Paragraph Spacing to set spacing that suits your document.
8. Proofread and Review
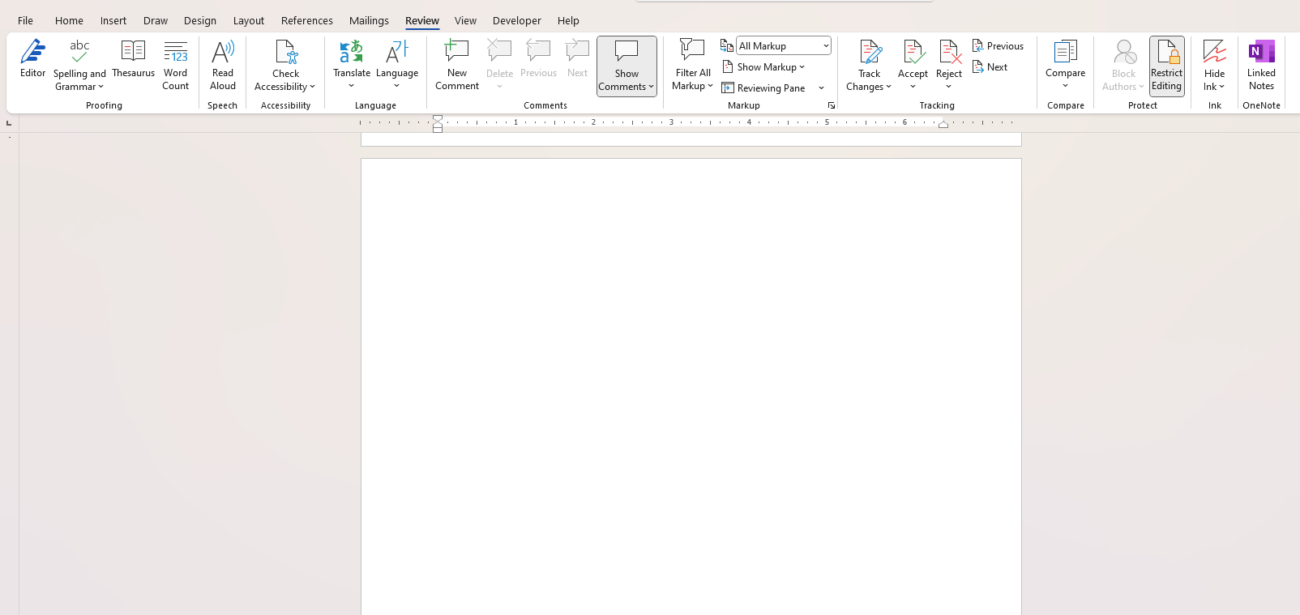
Errors can detract from your report’s professionalism. Use these tools to ensure accuracy:
- Spell Check: Go to Review > Spelling & Grammar to check for typos and grammatical errors.
- Track Changes: Collaborate with others by enabling Track Changes under the Review tab.
- Read Aloud: Use Word’s Read Aloud feature to listen to your text and catch mistakes you might miss.
9. Save and Share
Once your report is complete:
- Save it as a Word document for further editing and as a PDF for sharing.
- Go to File > Save As and choose the desired format.
- Use File > Share to send your report via email or upload it to the cloud.
10. Bonus Tips
- Use SmartArt: Add visually appealing diagrams by going to Insert > SmartArt.
- Apply Themes: Change the document’s overall appearance using Design > Themes.
- Headers and Footers: Include page numbers, dates, or titles in Insert > Header & Footer.
Get the cheapest Office Keys delivered instantly via email—secure, reliable, and budget-friendly!

