How to Use Microsoft Forms for Surveys and Feedback?
Collecting surveys and feedback has become an essential part of making informed decisions, whether for businesses, educational institutions, or personal projects. Microsoft Forms offers a simple yet powerful tool to design, distribute, and analyze surveys with ease. In this guide, we’ll explore how to use Microsoft Forms effectively for surveys and feedback.
Why Use Microsoft Forms?
Microsoft Forms is a user-friendly, cloud-based application designed for creating surveys, quizzes, and polls. Its key features include:
- Ease of Use: Intuitive interface that allows users to create forms in minutes.
- Customizability: Options to personalize questions, themes, and settings.
- Integration: Seamlessly integrates with Microsoft 365 apps like Excel, Teams, and Outlook.
- Real-Time Feedback: Automatically compiles responses for analysis.
Getting Started with Microsoft Forms
1. Accessing Microsoft Forms
To get started, visit Microsoft Forms and sign in with your Microsoft account. If you’re using Microsoft 365, Forms is included in your subscription.

2. Creating a New Form
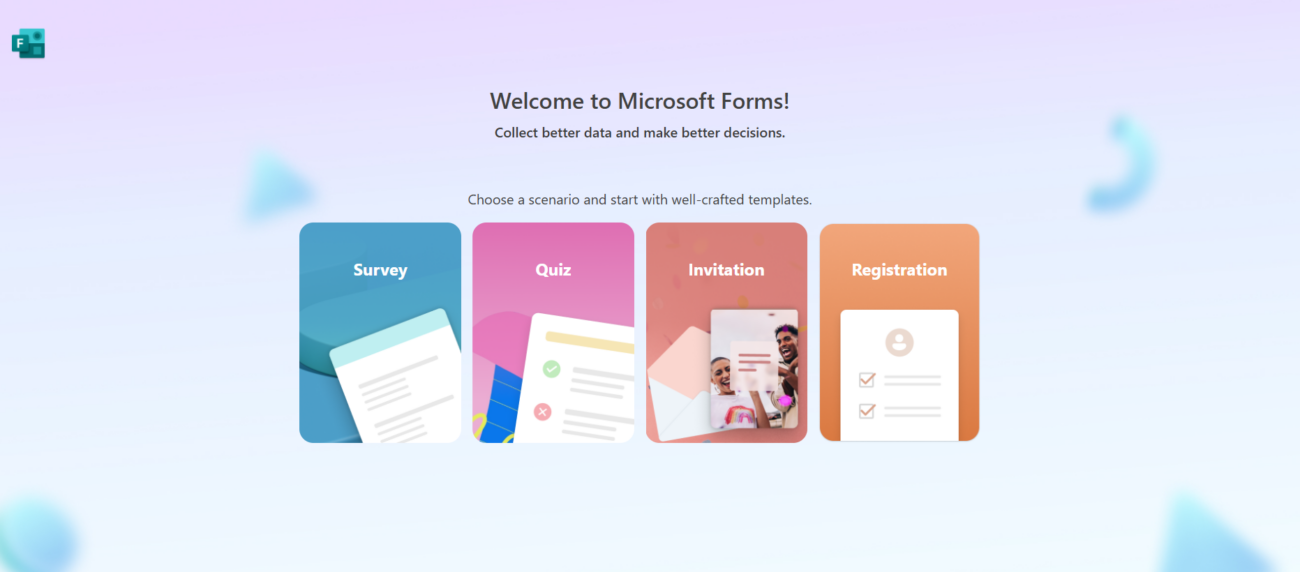
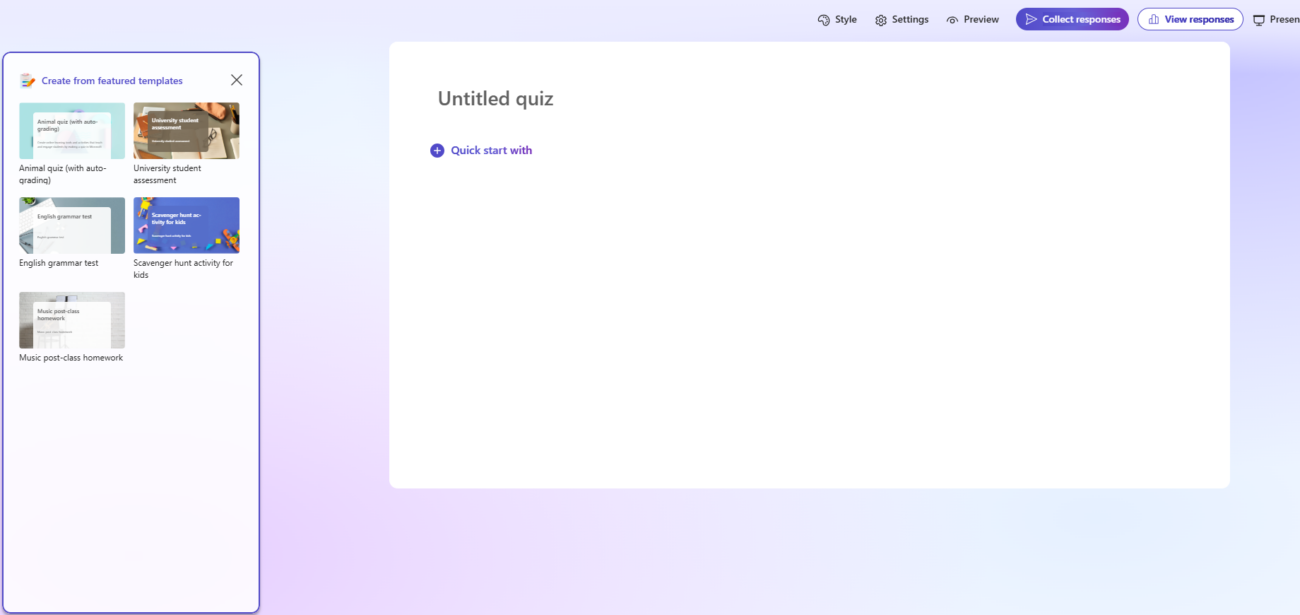
- Click “New Form” to create a blank survey or “New Quiz” for assessments.
- Add a title and description to introduce the purpose of your survey.

Designing Your Survey
1. Add Different Question Types
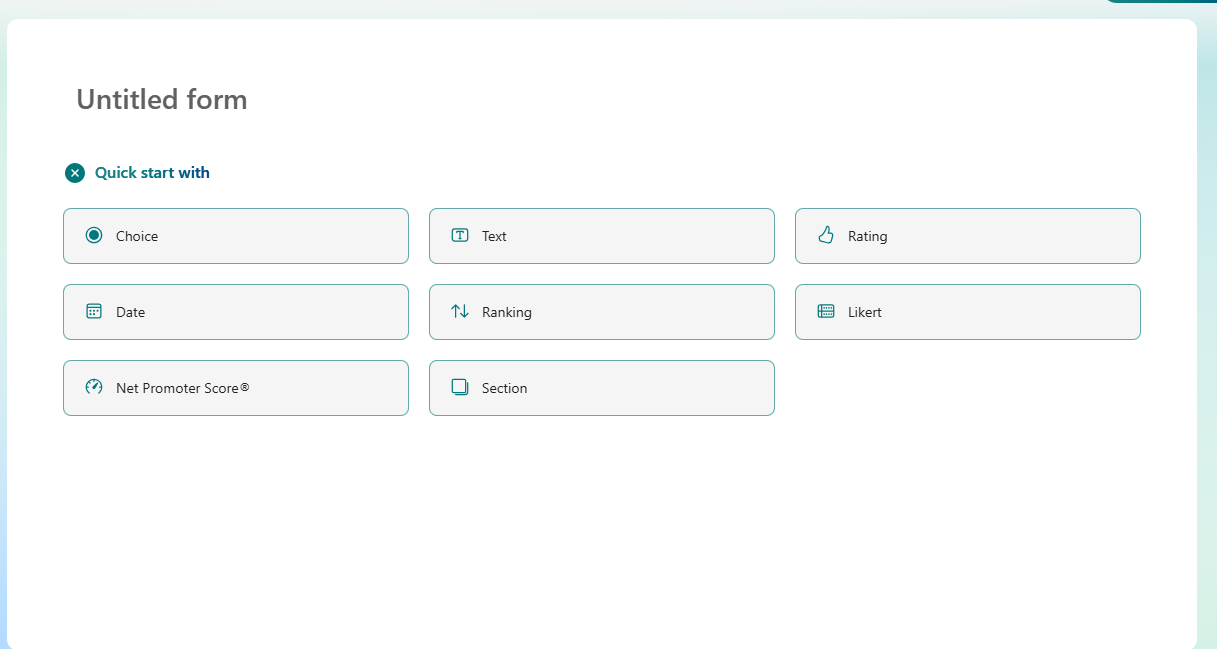
Microsoft Forms supports a variety of question types, including:
- Choice: Multiple-choice questions with single or multiple answers.
- Text: Open-ended questions for detailed feedback.
- Rating: Star or number scales to evaluate experiences.
- Date: Allows users to select dates.
- Ranking: Respondents can prioritize options.

2. Customize Your Questions
- Use branching to guide respondents through specific questions based on their answers.
- Add images or videos to enhance the survey and provide context.
- Mark required fields to ensure important questions are answered.
Sharing Your Form
1. Generate a Shareable Link
- Click “Share” in the top-right corner.
- Copy the link to send via email or embed it in your website.
2. Set Access Permissions
You can choose who can fill out your form:
- Anyone with the link (public surveys).
- Only people in your organization (for internal feedback).
3. Share via QR Code or Email
Distribute your survey easily by generating a QR code or sending invitations directly via email.
Analyzing Survey Results
1. View Responses in Real-Time
Microsoft Forms automatically compiles responses and provides a summary of the data, including charts and graphs.
2. Export to Excel
For deeper analysis, export your results to Excel. This allows you to use advanced filtering, sorting, and visualization features.
Best Practices for Surveys and Feedback
- Define Your Purpose: Clearly state the goal of your survey to keep it focused.
- Keep It Simple: Limit the number of questions to encourage more responses.
- Test Your Survey: Preview your form and test it before sharing to ensure it works smoothly.
- Follow Up: Use the feedback you gather to make informed decisions and communicate results with your audience.
Get the cheapest Office keys online with instant delivery and secure activation—quality software at unbeatable prices!

