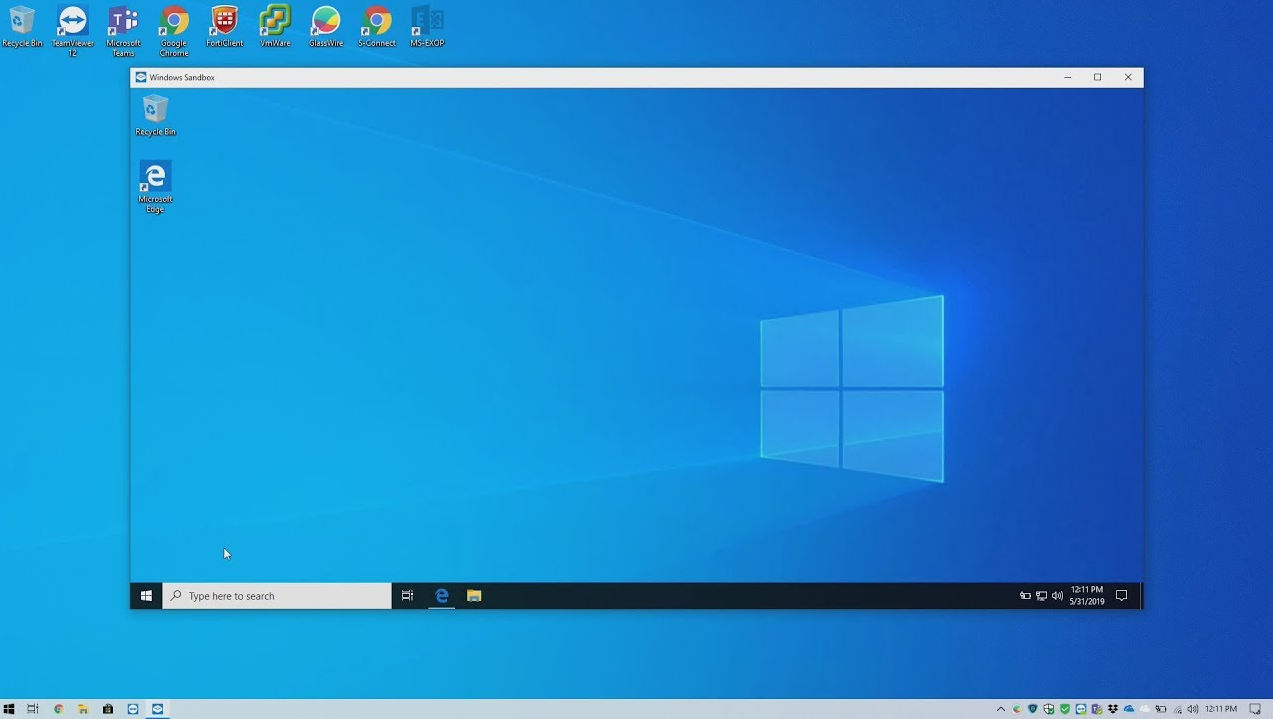
Can I run Windows Sandbox on Windows 10 Pro?
Yes, you can run Windows Sandbox on Windows 10 Pro! Windows Sandbox is a built-in feature that allows you to safely test apps or browse the web in an isolated environment, preventing any potential harm to your main system. It’s particularly useful for testing unknown software or websites without the risk of compromising your computer.
Here’s what you need to know about Windows Sandbox on Windows 10 Pro, and how to set it up step by step.
What is Windows Sandbox?
Windows Sandbox is a lightweight virtual environment that enables you to run applications in isolation from your main Windows installation. It’s like having a separate mini-version of Windows that you can open and close without affecting your system. Once you close Windows Sandbox, everything inside it is deleted, so no changes persist between sessions.

System Requirements for Windows Sandbox
Before you can run Windows Sandbox on Windows 10 Pro, make sure your system meets the following requirements:
- Operating System: Windows 10 Pro or Enterprise (version 1903 or later)
- Architecture: 64-bit
- Virtualization: Enabled in BIOS
- RAM: At least 4GB (8GB or more recommended)
- Free Disk Space: At least 1GB of available storage
- Processor: Dual-core or higher, supporting virtualization (Intel VT-x or AMD-V)
How to Enable Windows Sandbox in Windows 10 Pro
Here’s a step-by-step guide on how to enable and use Windows Sandbox in Windows 10 Pro:
Step 1: Enable Virtualization in BIOS
- Restart your PC and enter the BIOS/UEFI settings by pressing a designated key (commonly F2, F10, or Delete).
- Navigate to the Virtualization section in BIOS and make sure it’s enabled.
- Save the changes and reboot your system.
Step 2: Enable Windows Sandbox in Windows Features
- Click the Start Menu and search for Turn Windows features on or off.
- In the Windows Features window, scroll down and check the box next to Windows Sandbox.
- Click OK, and Windows will install the required components. After the installation is complete, restart your computer.
Step 3: Launch Windows Sandbox
- Once your PC restarts, open the Start Menu and search for Windows Sandbox.
- Click on the application to launch it.
- You’ll now see a new window running a fresh instance of Windows. This is your sandboxed environment where you can safely run and test applications.
Step 4: Use and Close Windows Sandbox
- You can copy any application or file from your main Windows environment and paste it into Windows Sandbox for testing.
- When you’re finished, simply close the Windows Sandbox window, and all data within it will be discarded.
Benefits of Using Windows Sandbox
- Security: Isolates potentially harmful software, ensuring it cannot affect your main system.
- Efficiency: Lightweight and faster than setting up a full virtual machine.
- Temporary Environment: Everything is deleted once the Sandbox is closed, ensuring a fresh start every time.
Get the cheapest Windows 10 Pro key today and unlock powerful features for your PC at an unbeatable price!


