Keeping your Windows 10 Home system up to date is essential for ensuring the latest features, security patches, and performance improvements. If you’re wondering how to check for updates, this guide will walk you through the process step-by-step.
Step 1: Open the Settings App
Start by clicking on the Start Menu (Windows icon) in the bottom-left corner of your screen. From there, click on the Settings gear icon to open the Windows Settings app.
Step 2: Navigate to Update & Security
In the Settings window, scroll down and click on Update & Security. This is where you’ll find all update-related options for Windows 10.
Step 3: Check for Updates
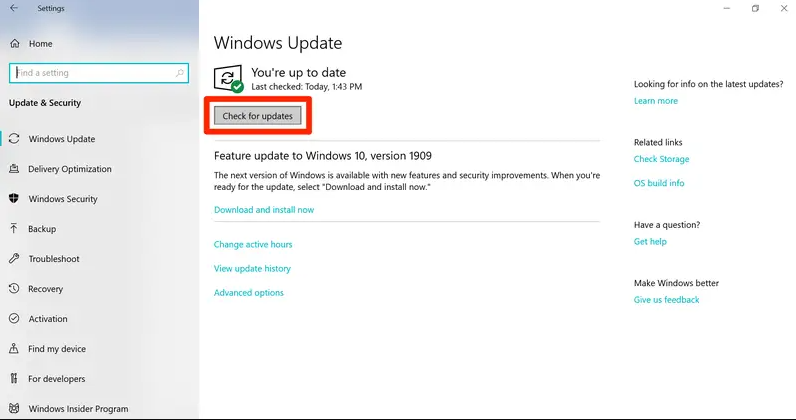
Once you’re in the Update & Security section, you’ll automatically be directed to the Windows Update tab. Here, click on the Check for updates button. Windows will now search for any available updates for your device.

Step 4: Download and Install Updates
If updates are found, Windows will automatically start downloading them. Depending on your internet connection and the size of the update, this may take a few minutes. Once the download is complete, the updates will automatically install.
Step 5: Restart if Necessary
After installation, Windows may prompt you to restart your PC to complete the process. You can either restart immediately or schedule the restart for a more convenient time by selecting Restart now or Schedule the restart.
Step 6: Verify the Updates
After restarting, you can verify that the updates were successfully installed by going back to Settings > Update & Security > Windows Update. If everything is up to date, you’ll see a message that says, “You’re up to date.”
Get the cheapest Windows 10 Home Key today and enjoy full features, security, and performance at an unbeatable price!


