Keeping sensitive data secure is crucial, especially in a professional setting. Windows 11 Pro offers several security features to protect your files and documents. One such feature is BitLocker encryption. In this blog post, we will explore whether Windows 11 Pro includes BitLocker encryption and how to enable it on your device.
In this blog post, we will explore how Windows 11 Pro includes BitLocker encryption as one of its impressive security features, and we will demonstrate how to activate it on your device. We will guide you on how to configure BitLocker encryption through a step-by-step process, ensuring that your sensitive data, intellectual property, and customer information remain secure and private. By the end of this post, you will have a comprehensive understanding of BitLocker encryption in Windows 11 Pro, and how to leverage it to secure your critical data.
Step 1: Check if BitLocker is available
Go to the Start Menu and click on the Settings icon (a gear-shaped icon). In the Settings menu, select “System” and then click on “About.” Look for the “Device encryption” section. If it says “Device is encrypted,” it means your device has BitLocker available.
Step 2: Enable BitLocker
If your device doesn’t have BitLocker enabled, you can enable it by following these steps:
- Open the Start Menu and click on the Settings icon.
- In the Settings menu, select “System” and then click on “Storage.”
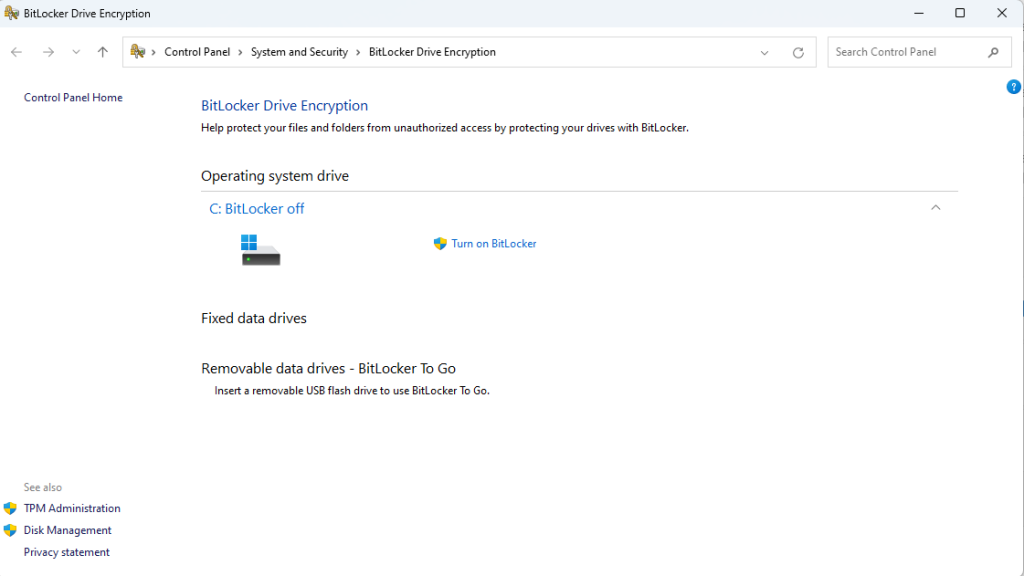
- Under “Storage,” select “BitLocker Drive Encryption.”
- In the BitLocker settings, click on “Turn on BitLocker” next to the drive you want to encrypt.

Step 3: Choose the encryption method
After selecting the drive you want to encrypt, Windows 11 Pro will prompt you to choose an encryption method. You can choose between “Password,” “Smart card or other removable media,” or “TPM and PIN.” Select the method that suits your preference and click “Next.”
Step 4: Set a password or PIN
If you select the “Password” or “TPM and PIN” encryption method, you will need to set a password or PIN. Enter your desired password or PIN and click “Next.”
Step 5: Backup your recovery key
To ensure you can access your encrypted drive if you forget your password or PIN, it is essential to back up your recovery key. Select the option to save it to your Microsoft account, save it to a USB drive, or print it. Click “Next” to continue.
Step 6: Encrypt the drive
After configuring your encryption settings, click on “Start encrypting” to begin the encryption process. Windows will commence the encryption, which may take some time depending on the size of the drive.
Step 7: Accessing your encrypted drive
Once the encryption process is complete, your drive will be protected by BitLocker encryption. To access the drive, simply enter the password or PIN you set during the setup process.
By following the step-by-step guide above, you can enable BitLocker on your Windows 11 Pro device, ensuring your files and documents are protected. Take advantage of this robust security feature and enjoy peace of mind knowing your data is secure.
Discover the unbeatable offer on our website, where we are selling genuine Windows 11 Pro Key at the lowest prices available.

