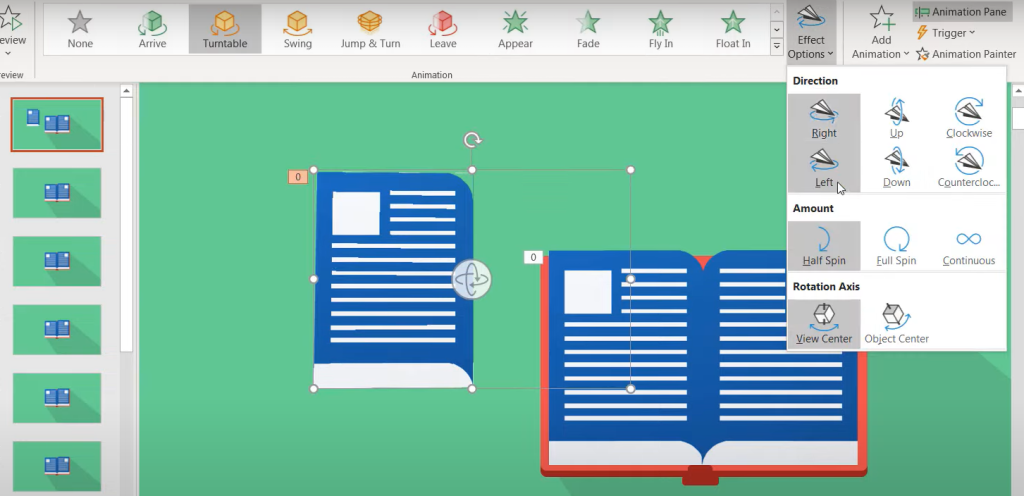
How Can I Make a Flipbook-Style Animation Using PowerPoint?
Creating a flipbook-style animation using PowerPoint is a fun and innovative way to add movement and dynamism to your presentations. By simulating the flipping pages of a traditional flipbook, you can capture your audience’s attention and convey information in a creative and engaging manner. In this detailed guide, we will provide you with a step-by-step tutorial on how to make a flipbook-style animation using PowerPoint, empowering you to transform static slides into interactive and captivating visual experiences.
PowerPoint’s animation features offer a versatile platform for designing flipbook-style animations that can enhance the storytelling and visual appeal of your presentations. Our guide will cover techniques on how to create individual frames representing different stages of the animation, and seamlessly transition between them to create a fluid flipping effect. We will also explore how to adjust the timing, effects, and sequencing of the animations to achieve a realistic flipbook look. By following the instructions outlined in this guide, you will gain the skills and knowledge needed to bring your ideas to life with a flipbook-style animation in PowerPoint.

Step 1: Setting Up Slides
- Open PowerPoint and create a new presentation.
- Add the content you want to animate onto separate slides, like a series of images or text.
Step 2: Duplicating and Modifying Slides
- Duplicate the slides that will make up the flipbook sequence.
- Modify each duplicated slide slightly, such as moving an object or changing text.
Step 3: Adding Transitions
- Select the first slide of the flipbook sequence.
- Click on the “Transitions” tab in the PowerPoint menu.
- Choose a transition, such as “Fade” or “Push”, to create a seamless animation between the slides.
Step 4: Adjusting Transition Settings
- Click on the “Transitions” tab and select “Effect Options”.
- Adjust the duration and direction of the transition to achieve the desired flipbook effect.
Step 5: Previewing and Fine-tuning
- Play the slideshow to preview your flipbook-style animation.
- Make any necessary adjustments, such as timing or transition effects, to perfect the animation.
Step 6: Saving and Sharing
- Once you are satisfied with your flipbook-style animation, save the PowerPoint presentation.
- Share the presentation with others by exporting it as a video or sharing the PowerPoint file directly.
Conclusion:
By following these step-by-step instructions, you can easily create a captivating flipbook-style animation using PowerPoint. Unlock the potential of your presentations by incorporating this dynamic and engaging animation technique. Your audience will be impressed by the visual storytelling that the flipbook-style animation brings to your content.
Shop now on our website for the best prices on Microsoft Office and boost your productivity today!

