How do you Solve Circular Reference Errors in Excel?
Circular reference errors in Excel occur when a formula refers back to its own cell, causing an endless loop. This guide will lead you through the process of identifying and resolving these errors.
Step 1: Identify Circular References
Open your Excel workbook.
- Go to the
Formulastab in the Excel ribbon. - In the
Formula Auditinggroup, click on theError Checkingdropdown and selectCircular References. - Excel will display any cells that contain circular references. Click on each cell listed to locate them individually.
Step 2: Audit Your Formulas
- Select the cell that contains the circular reference.
- Go to the
Formulastab. - Click
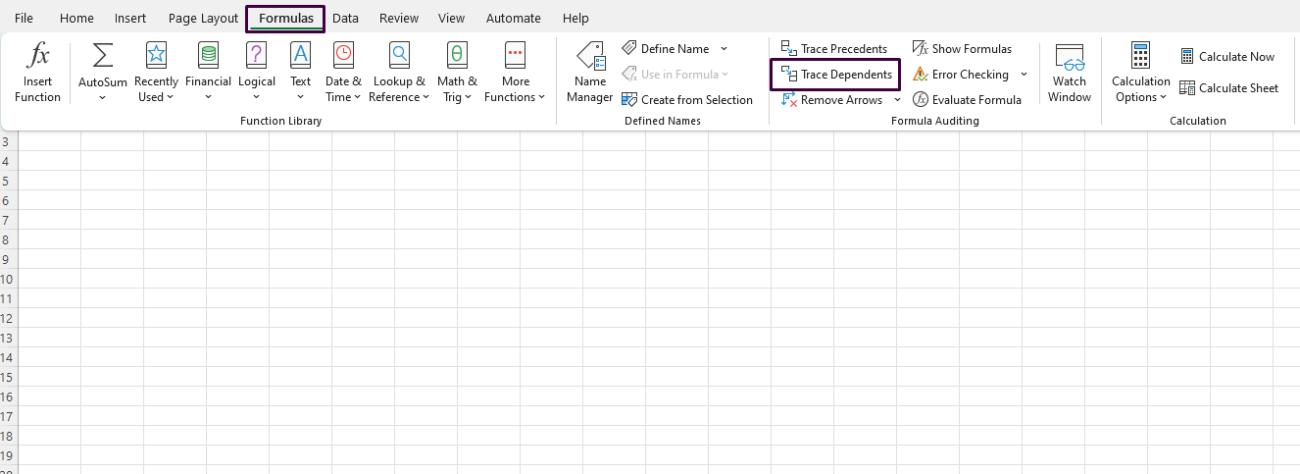
Trace Precedentsin theFormula Auditinggroup to show arrows pointing to the cells that feed into the formula in the selected cell. - Click
Trace Dependentsto show arrows from the selected cell pointing to cells that depend on its value.

Step 3: Correct the Circular Reference
- Examine the formula containing the circular reference.
- Decide if the formula needs to be rewritten. For instance, instead of
=A1+A2in a cell where A2 depends on the result of the cell, consider breaking the formula into multiple steps. - You might need to move some calculations to helper columns to break the circular dependency.
Example:
If cell A1 has the formula =A1 + B1 (circular), you could:
- Change cell A1 to
=B1. - Use a different cell (e.g., C1) for
=A1 + B1.
Step 4: Enable Iterative Calculation (if appropriate)
Note: Use iterative calculations cautiously. They can solve circular references by allowing Excel to iterate calculations until a specific condition is met, but it’s not ideal for all scenarios.
- Go to the
Filemenu and selectOptions. - In the
Excel Optionsdialog box, select theFormulascategory. - Under the
Calculation options, check the box labeledEnable iterative calculation. - Set the
Maximum IterationsandMaximum Changebased on how precise you need the result to be. For example, aMaximum Iterationsof 100 and aMaximum Changeof 0.001 might work for many situations. - Click
OK.
Step 5: Test and Validate Your Fix
- After making changes, test the workbook thoroughly to ensure the errors are resolved.
- Use different data sets to validate that the circular reference has been adequately addressed and the calculations are correct.
Step 6: Use Excel’s Built-in Tools to Prevent Circular References
- To prevent circular references in the future, consider using Excel’s formula auditing tools regularly.
- Use the
Evaluate Formulatool to step through the calculations in a formula, helping you understand the logic and prevent circular references.
Command:
- Go to the
Formulastab. - Click
Evaluate Formulain theFormula Auditinggroup. - Use the
Evaluatebutton to step through the formula and understand each part’s result.
Step 7: Save Your Workbook
- Once you have resolved the circular references and validated your workbook, save your changes.
- Click
File>Save As, then choose a location and filename for your work.
Unlock genuine productivity with our affordable Office Keys, ensuring you have access to the latest Microsoft Office tools for all your needs.

