Creating a holographic menu or navigation system can elevate your PowerPoint presentation to new levels of interactivity and engagement. By incorporating holographic elements, you can create a futuristic and immersive experience for your audience. In this guide, we will explore the steps to create a holographic menu or navigation system in PowerPoint, enabling you to captivate your audience and deliver a unique presentation.
PowerPoint offers a variety of tools and features that can be used to create holographic effects. From applying 3D models and animations to utilizing custom shapes and transitions, you can bring your menu or navigation system to life in a truly immersive way. In this guide, we will walk you through the process of adding and customizing holographic elements in PowerPoint, including creating 3D objects and designing interactive menus.
Step 1: Create a blank slide
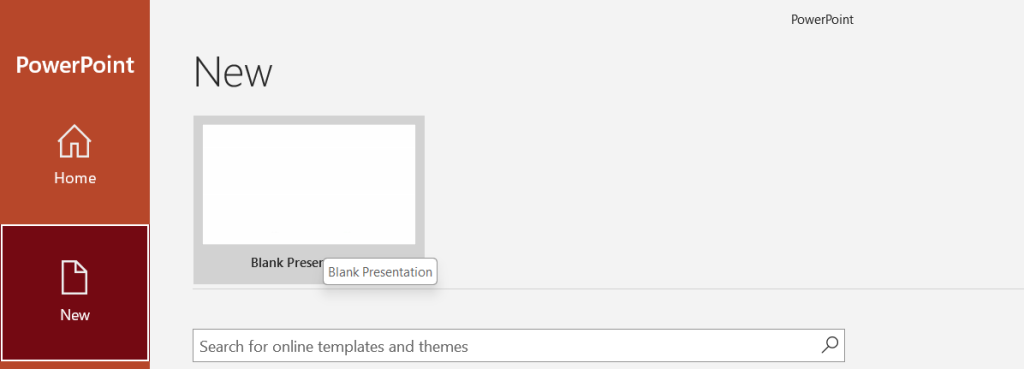
Open PowerPoint and create a new presentation. Insert a blank slide by going to the ‘Home’ tab, clicking on the ‘New Slide’ dropdown, and selecting ‘Blank.’

Step 2: Add a background image
To create a holographic effect, you’ll need a suitable background image. Search online for a suitable image or use your own image. Click on ‘Insert,’ select ‘Pictures,’ and select the image you want to use as your background. Once you’ve inserted the image, right-click on it, select ‘Format Picture,’ and choose ‘Picture Color.’ Adjust the saturation and brightness slider to achieve the desired effect.
Step 3: Insert a rectangle shape
Select the ‘Insert’ tab, click on ‘Shapes,’ and select the ‘Rectangle’ shape. Draw a rectangle shape that is similar in size to the area where you want to add your holographic menu or navigation system.
Step 4: Add gradient fill to the shape
Right-click on the rectangle shape and select ‘Format Shape.’ Select ‘Gradient Fill’ under the ‘Fill’ tab and choose two different colors. Adjust the slider to adjust the gradient fill.
Step 5: Duplicate the rectangle shape
Select the rectangle shape and press ‘Ctrl + D’ to duplicate it. Change the gradient fill colors of the duplicated shape to create a holographic effect.
Step 6: Add text
Add text to your holographic menu or navigation system by clicking on ‘Insert’ and selecting ‘Text Box.’ Type your text and adjust the font, color, and size as desired.
Step 7: Add animation effect
Select the ‘Animations’ tab and select ‘Add Animation.’ Choose any appropriate animation effect such as ‘Fade In’ or ‘Fly In’ to each shape and text. Set the ‘Delay’ timing to appear sequentially.
Step 8: Add hyperlink to text
To make your holographic menu or navigation system interactive, you need to add a hyperlink to each of the text. Right-click on the text and select ‘Hyperlink.’ Enter the hyperlink destination and click ‘OK.’
Step 9: Set slide as a template
Once you have finished creating your holographic menu or navigation system, go to the ‘File’ tab and select ‘Save As.’ Select ‘PowerPoint Template’ as your file type and name your template.
Congratulations! You’ve successfully created a holographic menu or navigation system in PowerPoint. It’s an excellent way to add a touch of high-tech and modern design to your presentations. Try experimenting with different background images and colors to create unique holographic effects.
Get the best deal on Microsoft Office with the lowest price available on our website.

