A clean installation of Windows 11 can help improve system performance, resolve issues, and provide a fresh start for your PC. It’s an excellent way to ensure your device runs at its best, free from unnecessary files and bloatware. Here’s a step-by-step guide on how to perform a clean installation of Windows 11.
Step 1: Backup Your Files
Before you begin, it’s crucial to back up your important files. A clean installation will erase everything from your PC, including applications, settings, and personal files. Use external storage, cloud services like OneDrive, or a backup drive to ensure you don’t lose anything important during the process.
Step 2: Prepare Windows 11 Installation Media
To perform a clean installation, you need a bootable USB drive with Windows 11 installation files. Here’s how to create one:
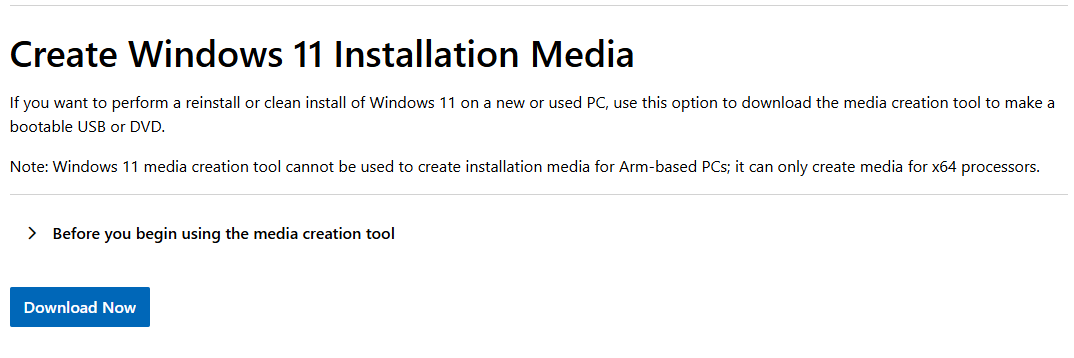
- Download the Windows 11 Installation Assistant:
- Visit the official Microsoft download page.
- Download the Media Creation Tool for Windows 11.
- Create Installation Media:
- Plug in a USB drive with at least 8GB of space.
- Launch the Media Creation Tool and follow the on-screen instructions to create a bootable USB drive.
- You’ll be asked to select the language, edition, and architecture (64-bit) for Windows 11.

Step 3: Boot from the USB Drive
Once you’ve prepared your bootable USB, the next step is to boot your PC from the USB drive.
- Insert the USB Drive into your computer and restart it.
- During startup, press the key to open the boot menu (usually F12, ESC, or DEL, depending on your system).
- Select the USB drive as the boot device and press Enter.
Step 4: Install Windows 11
- Select Language Preferences:
- Once Windows 11 setup loads, choose your language, time zone, and keyboard layout.
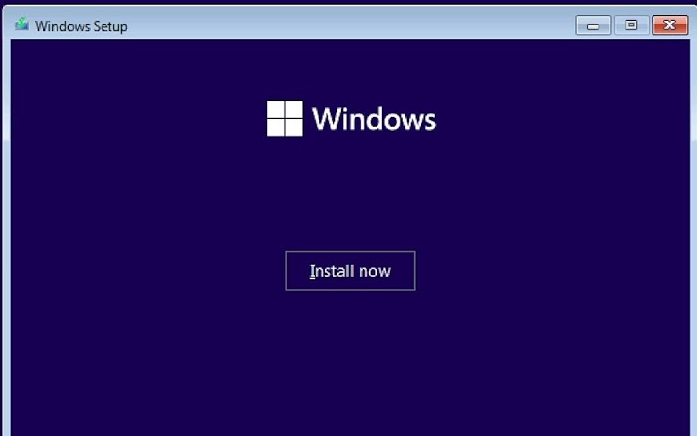
- Start the Installation:
- Click Install Now to begin the installation process.
- Activate Windows:
- If you already have a valid Windows 11 product key, enter it when prompted. You can also skip this step if you’re reinstalling on the same device.
- Select Custom Installation:
- Choose the Custom: Install Windows only option. This will allow you to install a fresh copy of Windows 11 and wipe your previous installation.
- Select the Partition:
- The installation process will ask where you want to install Windows. Select the primary partition (usually labeled “Drive 0”) and click Next.
- If you want to format the partition and remove any old data, click on Delete before selecting it for installation.

Step 5: Complete the Installation
Windows 11 will now begin installing. The process may take some time, and your computer will restart a few times during the installation. Ensure the USB drive remains plugged in until the installation is complete.
Once Windows 11 is installed, the system will prompt you to go through the initial setup, including:
- Setting up a Microsoft Account:
- Sign in with a Microsoft account or create a new one.
- Personalizing Settings:
- Choose your preferred privacy settings, Wi-Fi networks, and language preferences.
- Setting up Windows Hello:
- If you wish, set up facial recognition or a PIN for easy login.
Step 6: Install Drivers and Updates
After Windows 11 is installed, you should:
- Install Device Drivers:
- Go to the Device Manager to check for any missing drivers, such as graphics, network, and audio drivers. You can download the latest drivers from the manufacturer’s website.
- Check for Windows Updates:
- Open Settings > Windows Update and check for updates to ensure your system is fully up-to-date.
Step 7: Restore Your Files
Now that you have a clean installation of Windows 11, you can restore your files from the backup you created earlier. Simply copy your files from the external storage or cloud service.
Get the cheapest Windows 11 keys today and enjoy seamless activation and premium features at an unbeatable price!


