Adding multimedia elements, such as videos, to a PowerPoint presentation can enhance its impact and engage the audience on a deeper level. By incorporating videos, presenters can effectively convey information, capture attention, and create a dynamic and interactive experience. In this guide, we will explore how to seamlessly embed multimedia elements, specifically videos, into a PowerPoint presentation, enabling users to deliver visually compelling and engaging content.
Microsoft PowerPoint provides a straightforward and user-friendly process for embedding videos into presentations. Users can easily insert videos from various sources, including local files, online platforms, and even from their own recorded content. PowerPoint supports a wide range of video formats to ensure compatibility and smooth playback.
Step 1: Open Microsoft PowerPoint:
- Launch Microsoft PowerPoint on your computer.
- If you don’t have PowerPoint installed, you can download it from the official Microsoft website.
Step 2: Choose or Create a Slide:
- Select a slide within your PowerPoint presentation where you want to embed the video.
- You can choose an existing slide or create a new slide specifically for the video.
Step 3: Insert a Video:
- Go to the Insert tab in the PowerPoint ribbon.
- Click on the “Video” button, and a drop-down menu will appear.
- Choose the source of your video: “Online Video,” “Video on My PC,” or “Video from a Website.”

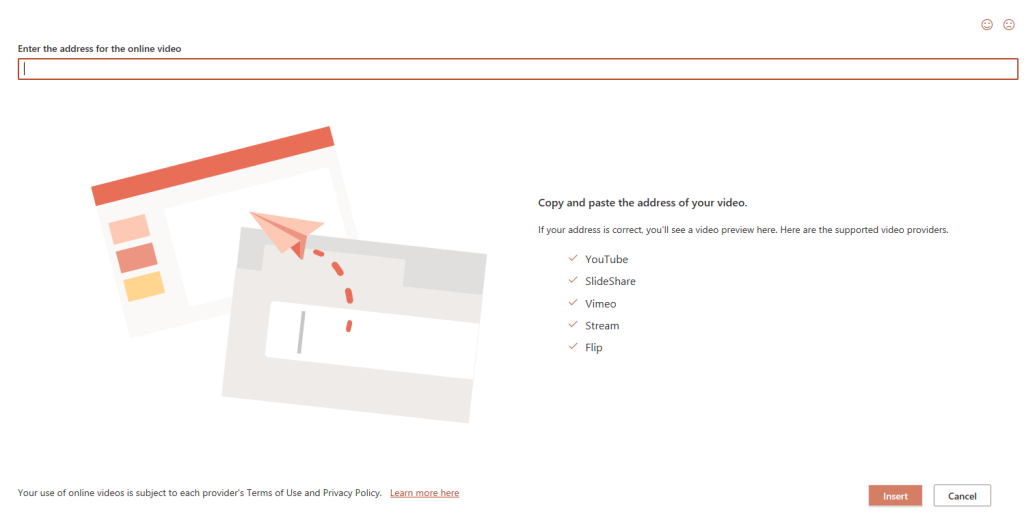
Step 4: Insert Online Video:
- If you choose “Online Video” in the previous step:
- You can browse and search for videos directly from popular platforms like YouTube.
- Enter keywords in the search bar or paste the video URL to find the desired video.
- Click on the video thumbnail to select and insert it into your presentation.

Step 5: Insert Video from PC:
- If you choose “Video on My PC” in Step 3:
- Browse your computer’s files and locate the video you want to insert.
- Select the video file and click “Insert” to add it to your PowerPoint slide.
Step 6: Adjust Video Size and Position:
- Once the video is inserted, you can resize and reposition it on the slide.
- Click on the video to activate the Video Tools Format tab in the PowerPoint ribbon.
- Use the options in the Size and Position group to adjust the video’s dimensions and placement.
Step 7: Customize Video Playback Options:
- PowerPoint provides various playback options for embedded videos.
- Select the video and go to the Video Tools Playback tab in the ribbon.
- Adjust settings such as starting the video automatically, looping, or hiding the video controls.
Step 8: Preview and Play the Video:
- To preview how the video will appear and playback, click on the slide’s Play button.
- You can play the video directly from the slide during your presentation.
Step 9: Edit and Format Videos:
- PowerPoint offers basic video editing and formatting options.
- Activate the Video Tools Format tab to access features like trimming, applying video styles, or adding effects.
Step 10: Present and Share:
- Once your PowerPoint presentation with the embedded video is ready, you can present it.
- Use the Slide Show tab in the PowerPoint ribbon to start your presentation.
- Remember to test the video and ensure it plays smoothly on the presentation device.
- Share your presentation with others by saving it as a PowerPoint file or converting it to a different format.
This step-by-step guide has demonstrated how to add videos from online sources or your computer, customize video playback options, and adjust video size and position.
Unlock the full potential of productivity by purchasing Microsoft Office on our website at the lowest price available, ensuring you get the best deal for essential office tools.

